
Finally, I know! 🙏🏽🌻
Here is the post many of you have asked for, and I’ve been meaning to write for so long!

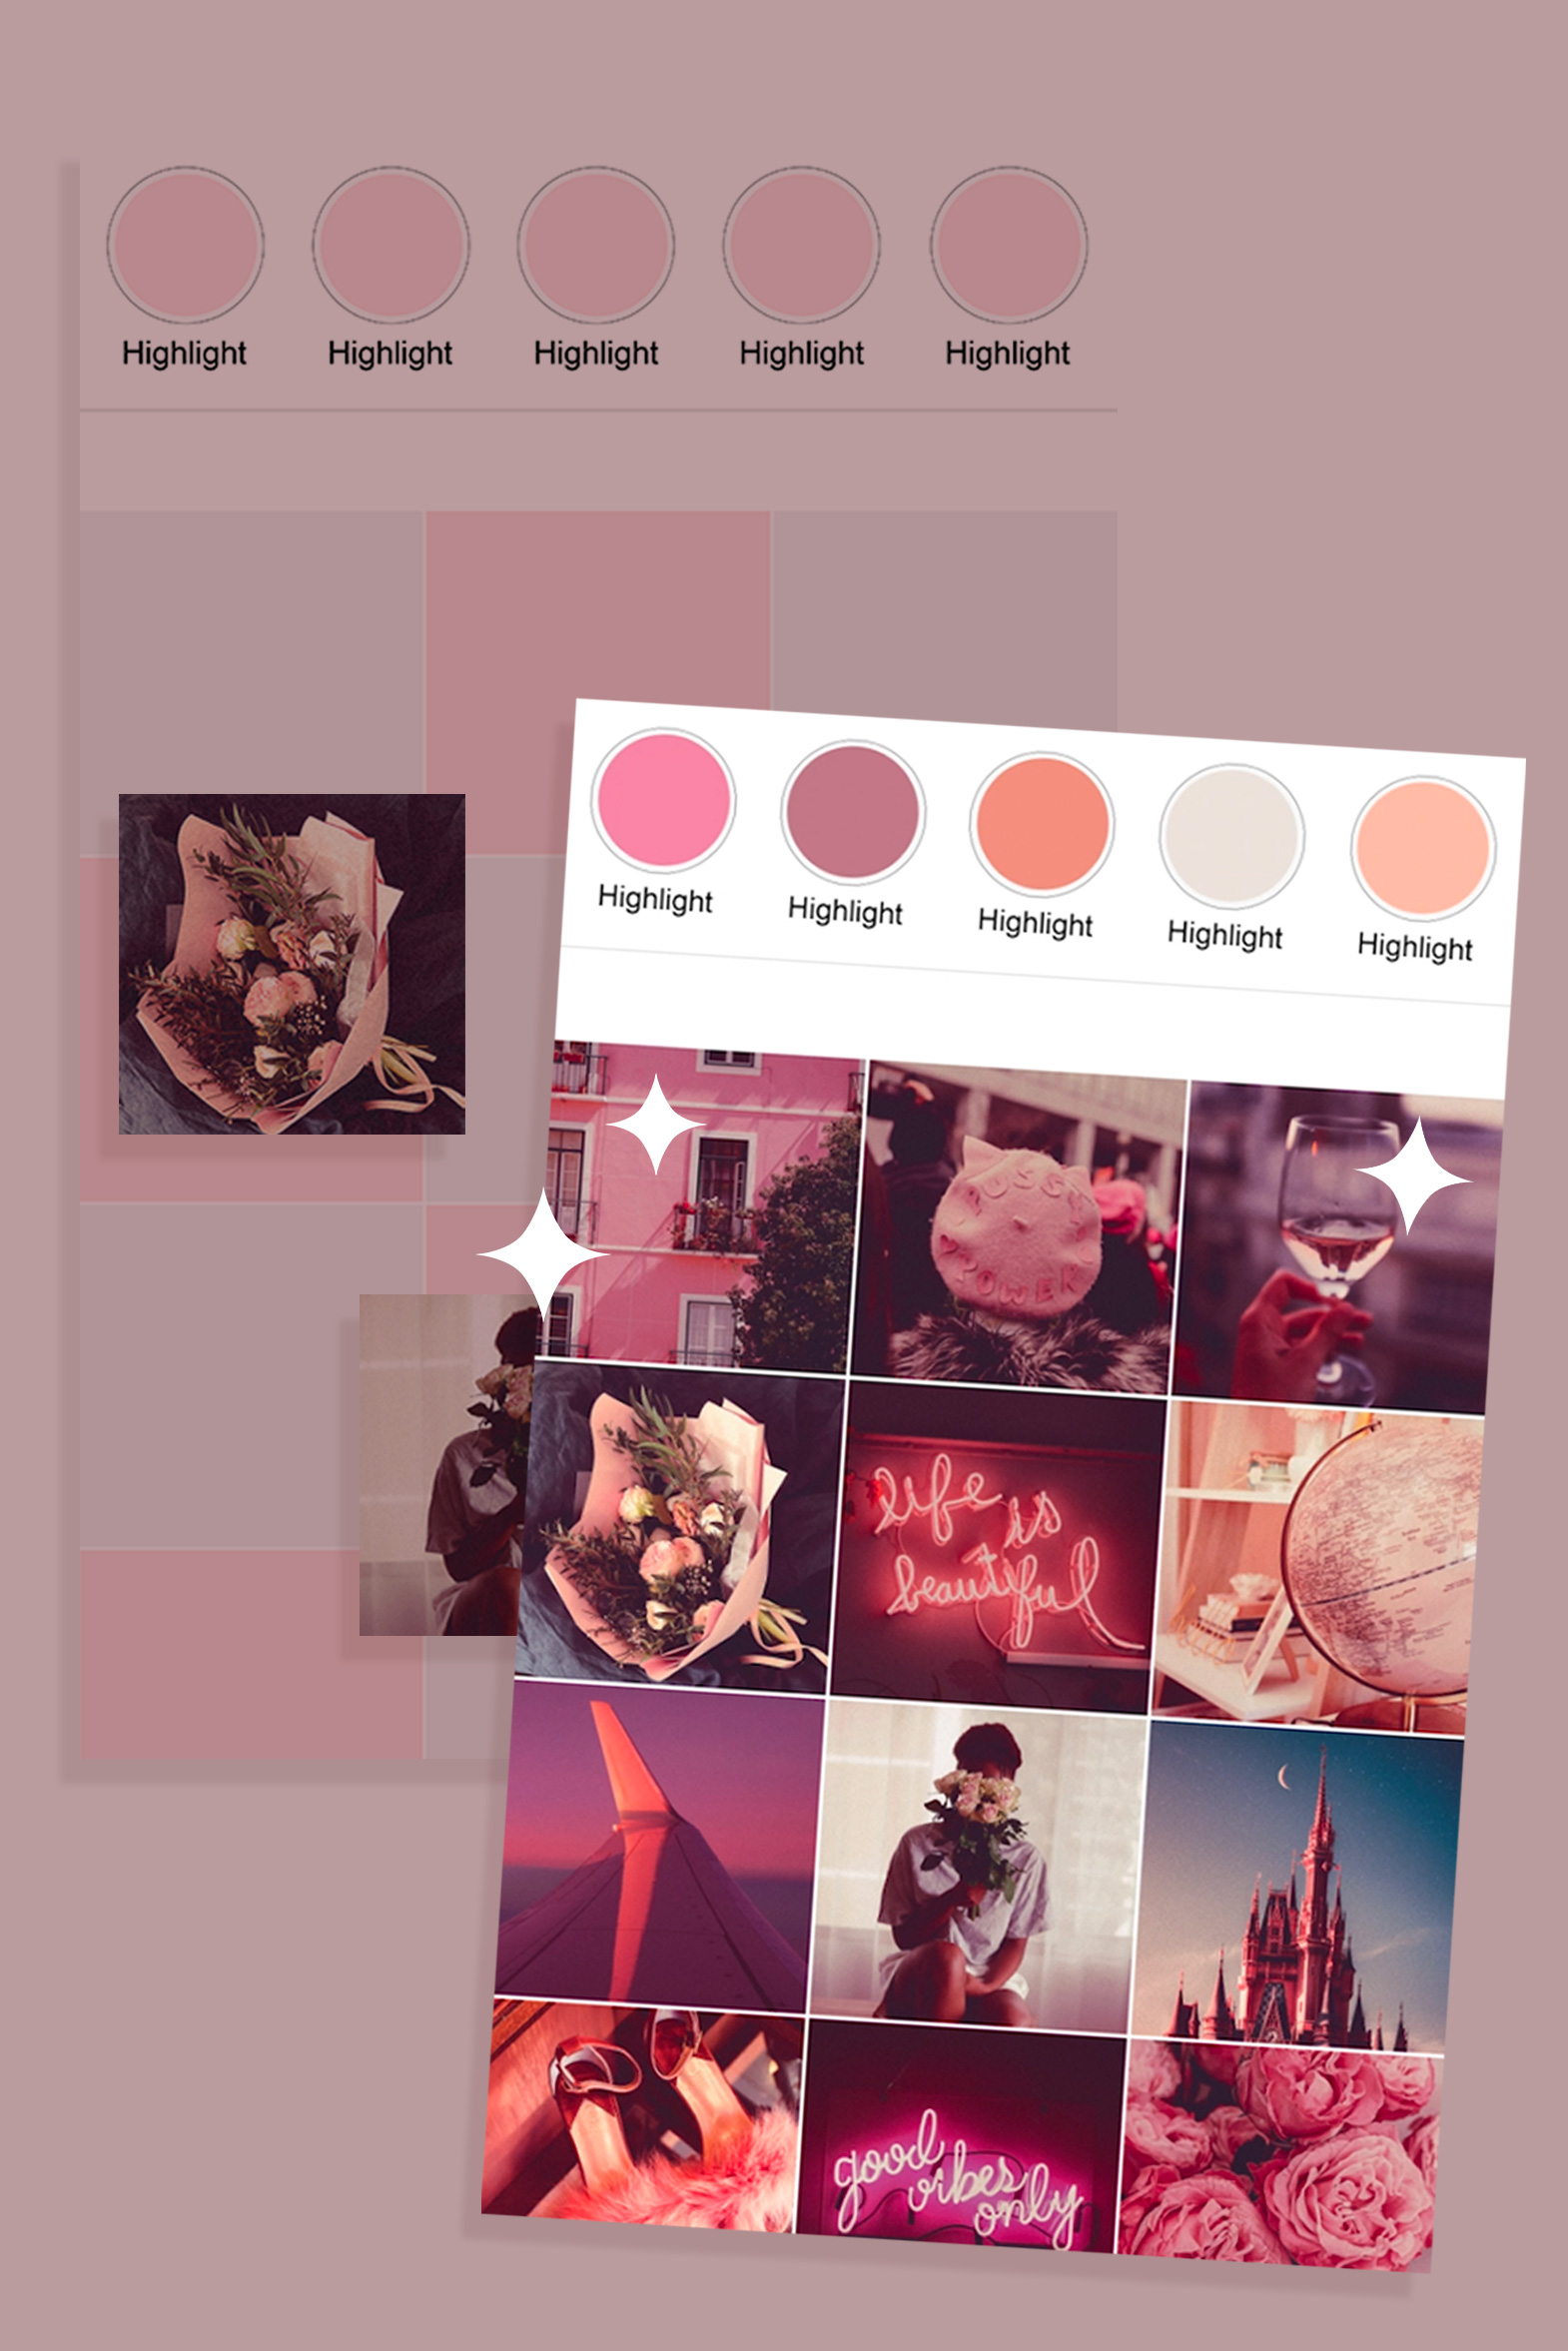
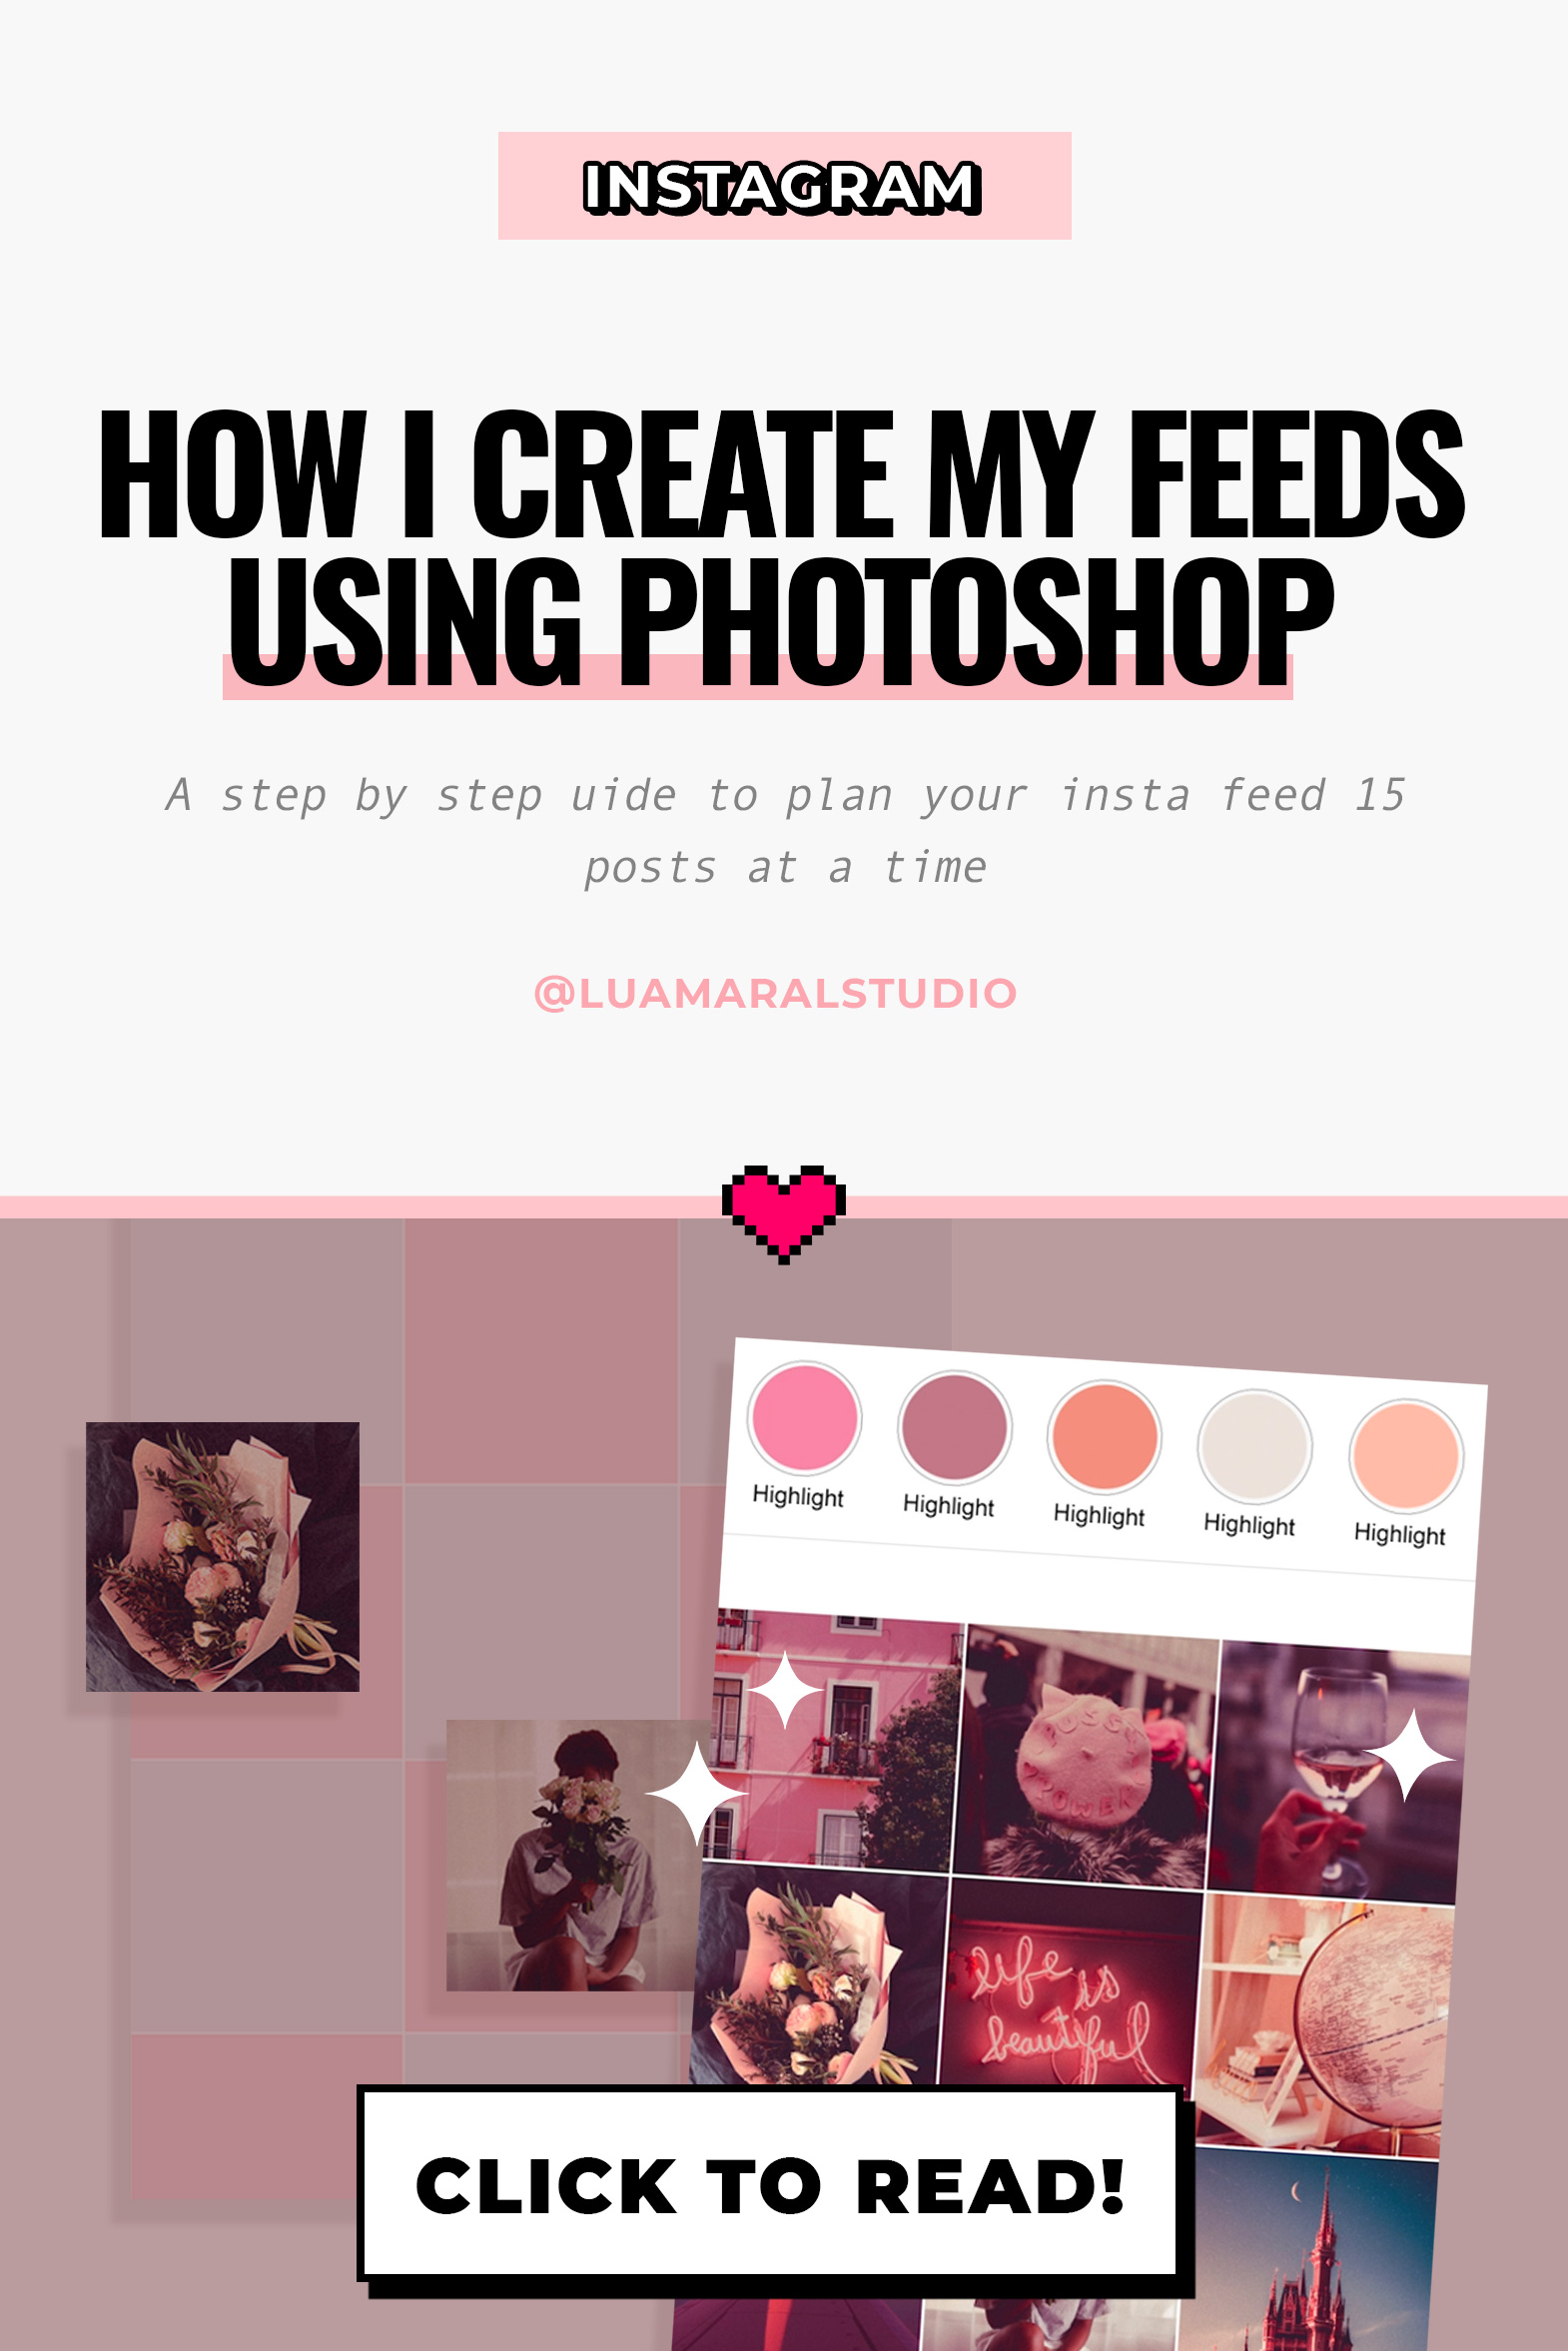
Creating Instagram feeds using photoshop


1. I do all my feed planning on Photoshop. Being a designer, I strongly believe that it’s the best way to place and edit each and every element of the feed design having them all visible and editable on one big file, having Photoshop’s super advanced tools at hand.
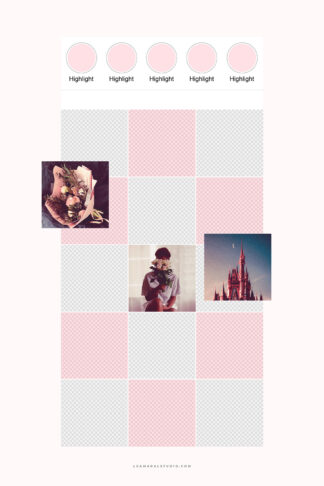
2. The files I use are 4000X8111 px (feed + highlights) or 4000X6690 (feed only). The file is filled with squares reproducing an Instagram grid, where I place my images. I also create lines above the rectangles dividing the posts,
3. When I’m creating puzzle feeds I don’t use the squares, I just place the elements all around the canvas, and the dividing lines on top of them help me visualize de edges defining each post.
4. I usually apply the edits after all the images are placed. Sometimes I use actions, sometimes I edit them manually step by step to get a nice unified aesthetic to the whole feed.
5. Once the design is ready, I crop and export each post. I do that by duplicating the whole file (Image / Duplicate), flattening it, and cropping square by square 🙂
6. I’ve uploaded a Photoshop template on the store for just $2 so you can have a good starting point, and only worry about designing your awesome feed! Here you go:
Checkout these videos I’ve made of the process. They’re timelapses, not tutorials, but following the tutorial I described above it’s easy to follow:
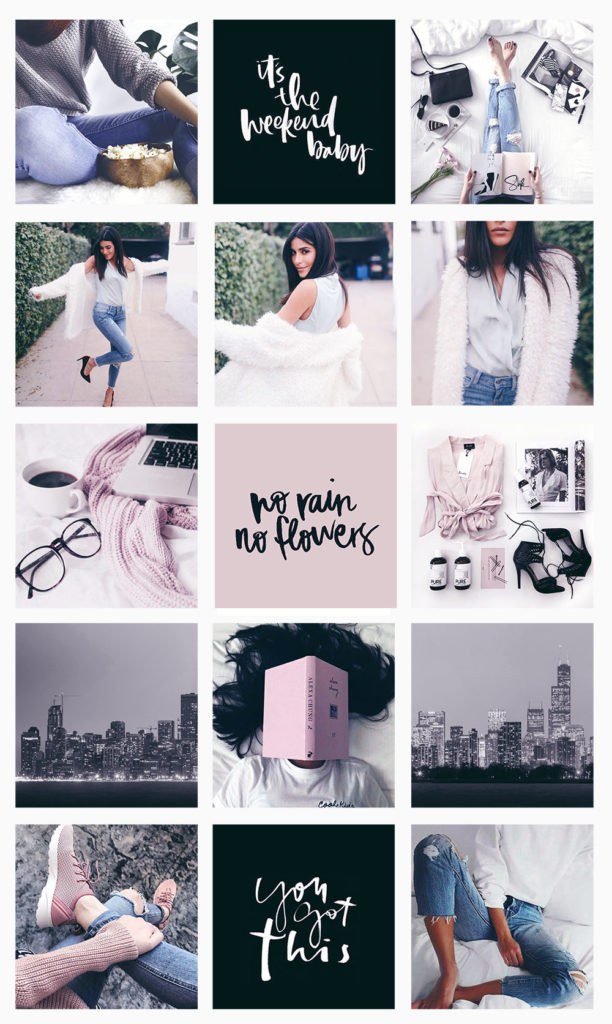
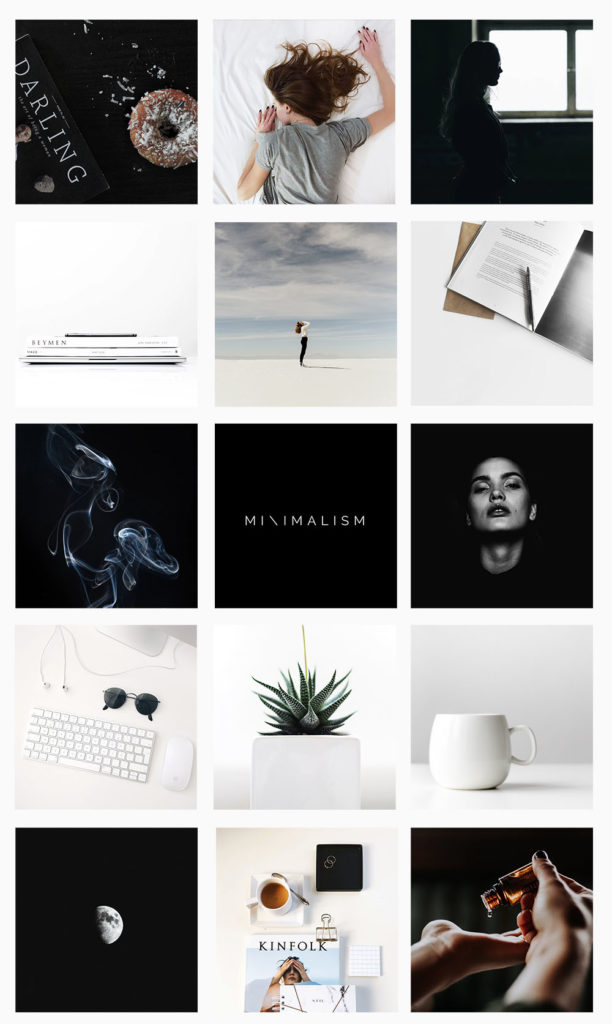
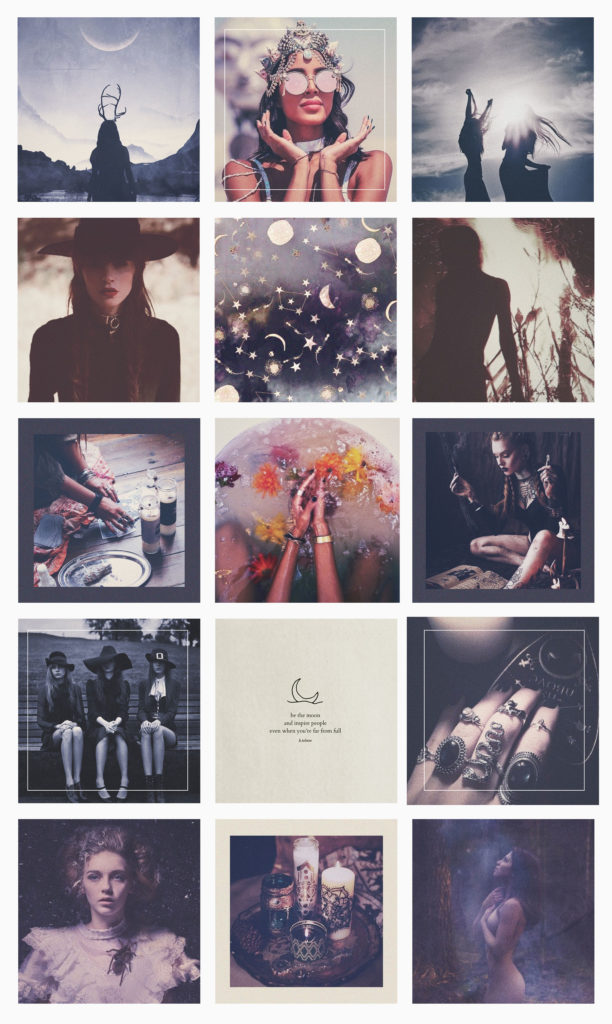
Get this feed here!
Get this feed here!
I hope this helps! Let me know if you have any questions 😉💕〰
Beijos,
Lu


&url=https://www.theaesthetic.shop/product/30-perfect-pink-aesthetic-high-resolution-digital-images-with-editable-canva-template/&media=https://www.theaesthetic.shop/wp-content/uploads/2023/08/30-Perfect-Pink-aesthetic-high-resolution-DIGITAL-images-with-editable-Canva-template-2.jpg)