Tag: apps

  • HOW TO EDIT: BLING

    HOW TO EDIT: BLING

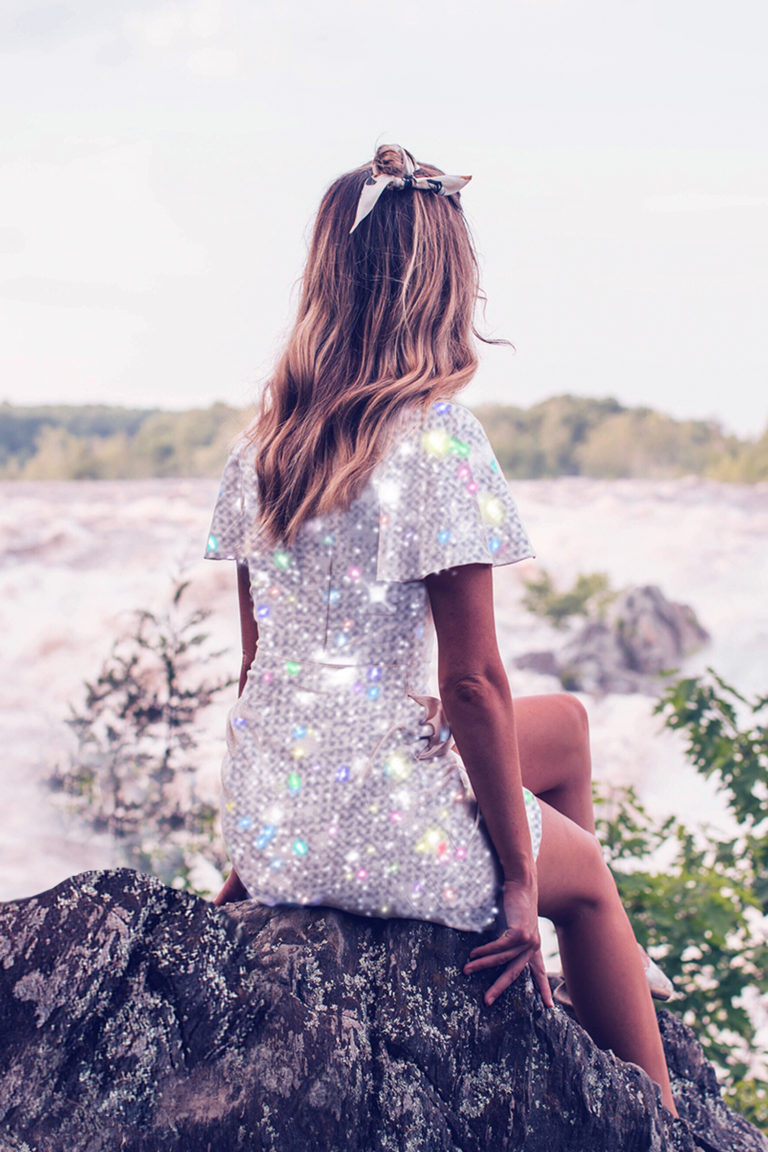
    Well, if you’ve been following me for a while, you already know I’m a huuuuuge fan os the app Meitu, right? Basically everything photo and video edit I do (on my phone!!) I use Meitu. If I’m on my computer, I’ll definitely go with Photoshop.

    I try to use other apps, I look for cool options, but Meitu just had lots of funtions that I love, so it ends up being my favorite option, even when compared to others hahaha 💖💖💖

    After such an introduction, you must have figured it out that I use Meitu to add bling effect to my photos, right?


    But keep on reading because I’ll teach you step by step how to do it. Some tools on Meitu are not as intuitive and easy to find as we’d hope. This is one of them.

    Here’s a quick tutorial on how to add the glitter effect to your pics using Meitu:

    ✨ Start Meitu
    ✨ Click “Edit” and pick your image
    ✨ Click the option “Mosaic”
    ✨ Go to “More” to downlod the textures
    ✨ Find your favorites! Here are mine:

    glitter-effect

    All you have to do now is fill in the areas you’d like to put sparkles on. That simple!

    You can also use the eraser to clean errors and perfect the filling. Use the zoom tool and the different sizes of the brush to make sure you get every little corner right!

    You’ll notice some of the textures are clear, while others have an opaque effect. You should pick which one works better for the design you’re working on. They’re all great, but serve to different purposes.

    Just a fun gif to illustrate the post, I’ll teach how to make them some other time..

    💡Tip: I think it can make the effect nicer when I add a few sparkly dots around the filled area. On Image 7, for example, I used texture number 5 around the cup so that it’d look a bit more natural.


    My glitter effect edited photos

    How you like the tutorial and put it to practice soon ✨✨✨✨

    Beijos!

    Lu

    aesthetic-edit-glitter-effect-free-app-meitu
  • HOW TO EDIT: VALENTINE’S DAY

    HOW TO EDIT: VALENTINE’S DAY

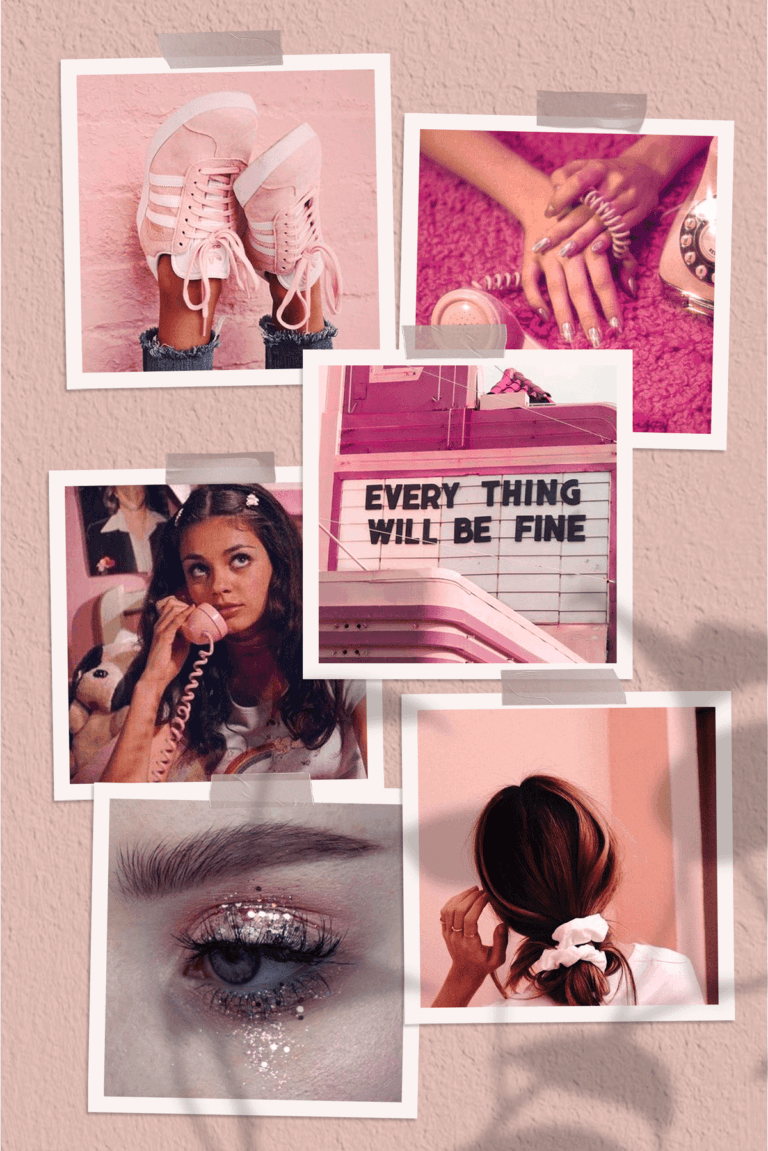
    Hey all! Valentine’s day is coming, and I’ve been planning and preparing some special content for you here on the blog and on the shop. Let’s celebrate the season of love together, right? 💘

    So on this post I’ll share with you 3 ideas of edits using free apps to apply on pics with your bae. These are simple, easy edits that take only a few taps.

    No complicated graphic design skill techniques will be required here, at least not this time 😂

    Here they are. Have fun!


    Valentine’s day edit 1: Cloud stickers | App:PicsArt

    This is how I did it ☝🏽

    Step by step:

    • Open photo on PicsArt
    • Tap stickers and search for “cloud”
    • Locate the cloud showed in the video and select it
    • Position it as you please above your image
    • Tap blend and select lighten
    • If necessary, use the eraser
    • Tap apply after your done adjusting the clouds.
    • Tap effects and select dodger, and hit apply
    • Tap effects again, select noise, and apply

    Valentine’s day edit 2: Vaporwave | App: Meitu

    This is how I did it ☝🏽

    Step by step:

    • Open photo on Meitu
    • Tap mosaic
    • Select a pattern
    • Use your fingers to cover the photo’s background area
    • You can zoom in and use different brush sizes for more precision
    • I increased the speed on the video, it took me around 4 minutes to cover the background on the pic above
    • Tap the check sign when you’re done.
    • Tap filters and select V20
    • Tap save.

    Valentine’s day edit 3: Euphoria | App: Picsart

    This is how I did it ☝🏽

    🔮 Step by step:

    • Open photo on PicsArt
    • Tap effects and select VNYL3
    • Tap VNYL3 one more time to open the editing tools
    • Increase horizontal to 100
    • Tap apply.
    • Tap tools, then adjust
    • On hue, decrease the amount to -80 (or however you prefer)
    • Tap apply.
    • Tap the download icon at the top of the screen.

    That’s all for today guys 💖 I hope you like the edits and give them a try.

    See you soon!

    Beijos,

    Lu

  • HOW TO EDIT: BORDERS

    HOW TO EDIT: BORDERS

    Hey guys!

    I’ve been wondering whether or not to post about how to add borders to photos, because I didn’t know if there are many people interested. And I realized it could be a good idea, because I wondered the same thing before the post about the grain effect and I ended up being very surprised by it’s reach 😊😊

    Borders are very common in graphic design and art in general, as a way to highlight elements or add style to the composition.

    https://www.instagram.com/p/BNpOtXpjAdH/?taken-by=tomhaugomat

    On Instagram, borders (or frames, or margins), can be used on photos to make the Instagram feed look lighter and more organized.


    New on the shop:


    Some of the instagram feeds that I created and that are most successful on my Pinterest have white borders, and I notice that they highlight images a lot. Everything is cleaner and organized, looks like ✨💖

    Some examples:

    In the fifth post of the series I made about organized feed [here] I talk a lot about the use of borders. Check it out to understand more about border width, pattern, photo orientation and which ones I recommend and the ones I don’t!

    If you’re looking for polaroid borders though, check out this post I wrote about it!


    Free apps to add white borders to pictures

    Several apps out there offer the option to create border on photos only in their paid version 😭. And tbh I’m not even gonna mention those, because I know that anyone looking for info on the subject and is willing to pay, by now have found some hehehe (but if that is your case, I suggest the premium version of VSCO).

    Within the free options, a good one to create borders in an easy and beautiful way in my opinion is the APRIL app. Just download it and look for the option you prefer, it has plenty of beautiful designs, including simple, white, square, traditional… Oh, just for the record. April is a delicious app that is worth using for many other things as well, if you like design and are working on a pretty cohesive Insta feed 💚💜


    You can also do it using MEITU, my fav app hehe. However, with Meitu you should crop the photo in square format before editing in the app.


    How to add white borders on Photoshop

    This is so easy to accomplish with PS. I do this several times a day every day.

    Basically: Open your image, click on the padlock to unlock it, doubleclick the layer, go to “stroke” and select “inside” position and adjust color, size, etc.

    💡To save te final image, don’t forget to export as .jpeg or .png. If you don’t, you won’t be able to use the image online. The default file extension is .psd, which is an open Photoshop file.


    If you guys have any questions, please let me know 🙂

    Beijos,

    Lu