Hi guys, good morning! How are you all doing today? 💞
A good way to change your blog designs and your Instagram pictures a bit a give them a unique look, is to simulate the polaroid effect.
I don’t mean just adding the white border, but the real thing. When it looks like you took a photo of a polaroid picture just laying there haha! This is an excellent strategy for when we’ve already posted too many photos of an event, or a trip, and you don’t feel great about posting YET another one… Influencers and celebrities do this all the time ☺✨
At the end of this post I’ll upload 8 png polaroid files with clear background that i’ve made especially for the blog! I’ll also teach you how to insert your photo in the frame for a super realistic result. Spoiler: It’s very easy 🧚🏽♀️💖
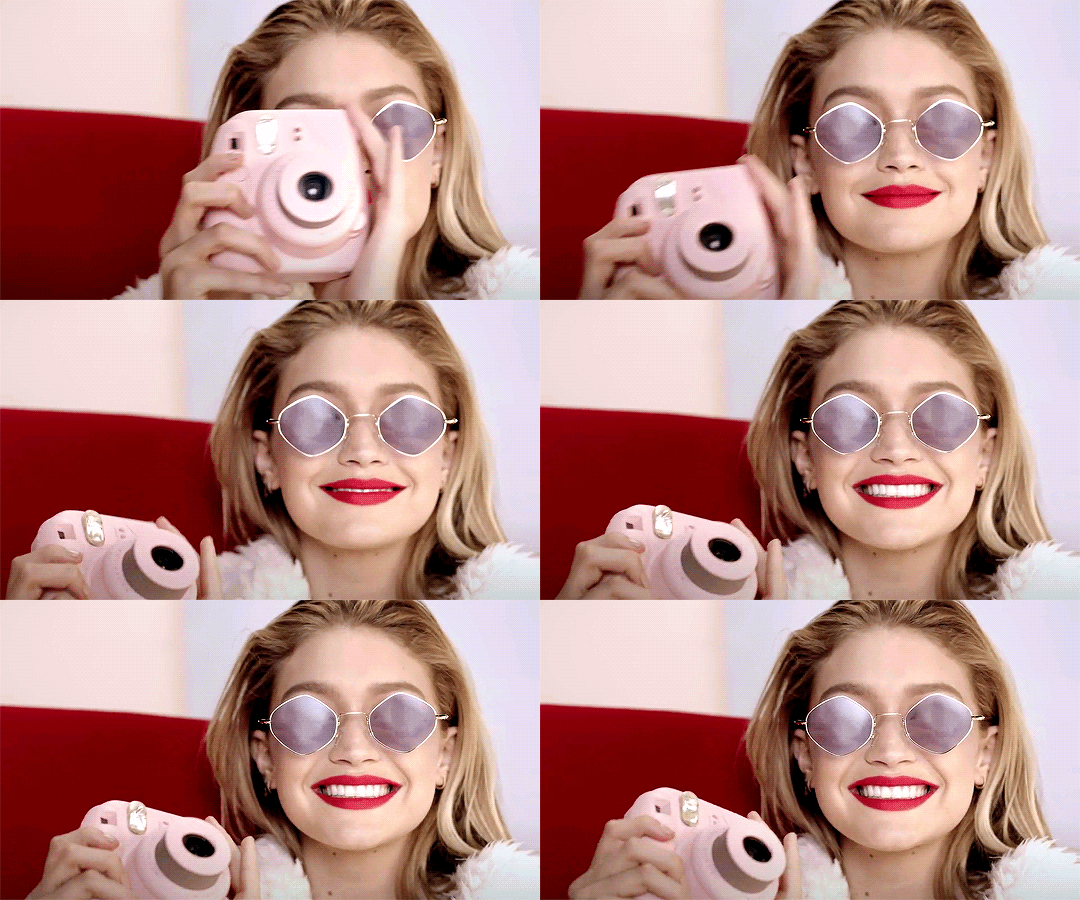

🦋 Update: This post ended up being so successful here on the blog, that I wanted to complement it with two pieces of information!
- Meitu, my favorite app in the world, has a border option, which is a perfect Polaroid frame. Super recommend for those who want something easy and fast!
- I made an Instagram feed (my current obsession) using polaroid frames, so I’ll take this opportunity to post it here to inspire you guys… =)


Here’s how you can use the png polaroid frames below with Photoshop:
If you don’t like learning with videos, below is the step by step:
- Open the polaroid image with Photoshop
- Import the photo you want to insert inside the frame
- Position the photo layer below the frame layer
- Adjust the photo to the size and angle to fit it perfectly
- If you’d like, edit the photo to match the background of the polaroid frame
- You can also use the frame’s white area to write something.
- Export your file as jpeg ou png.
Ready to give it a try? 😇
Png Polaroid frame mockups


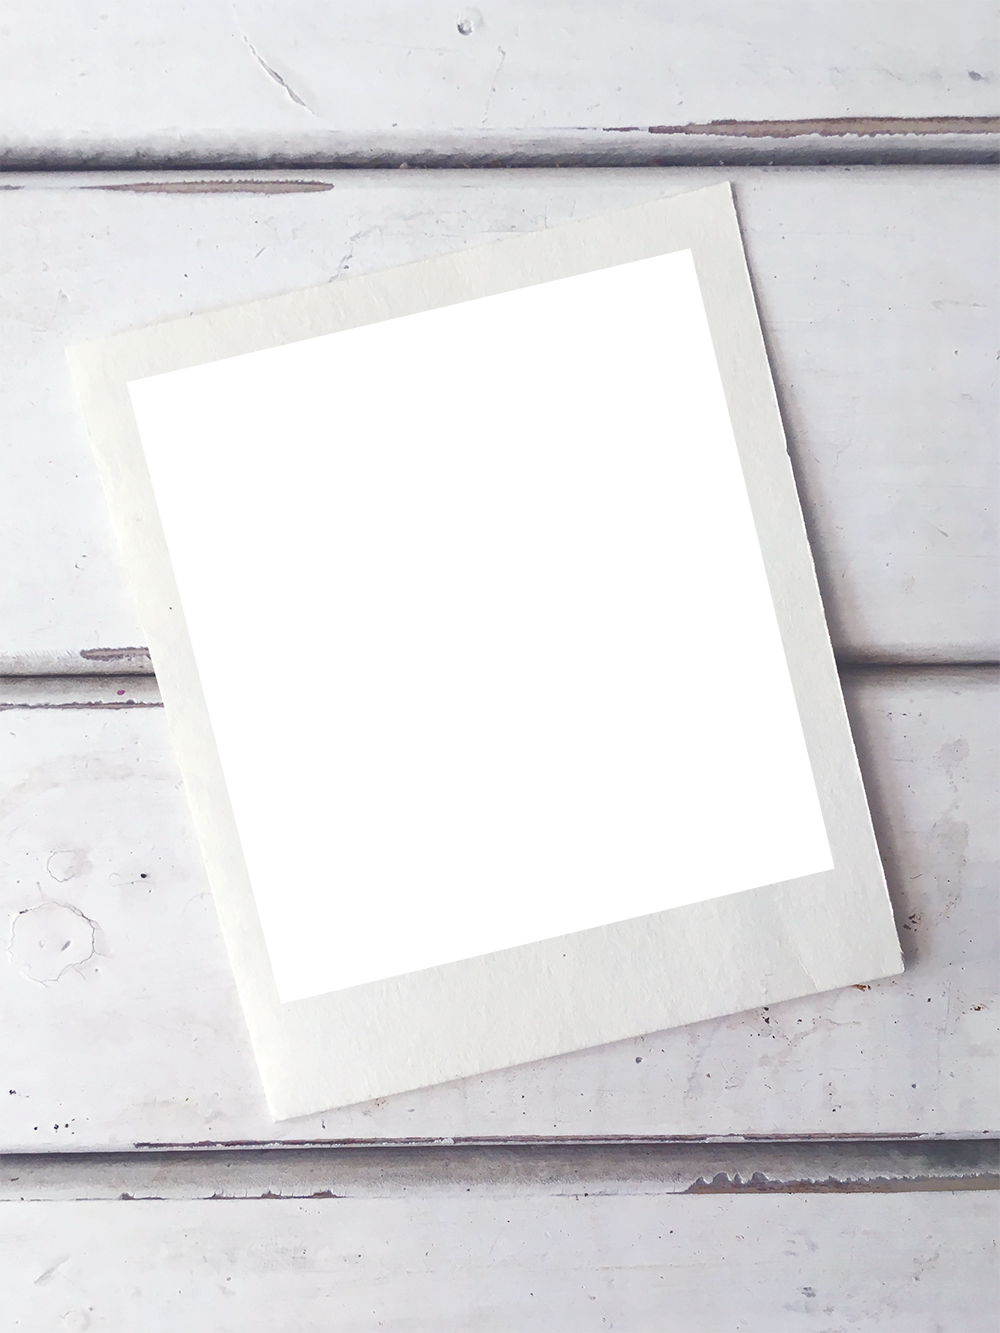

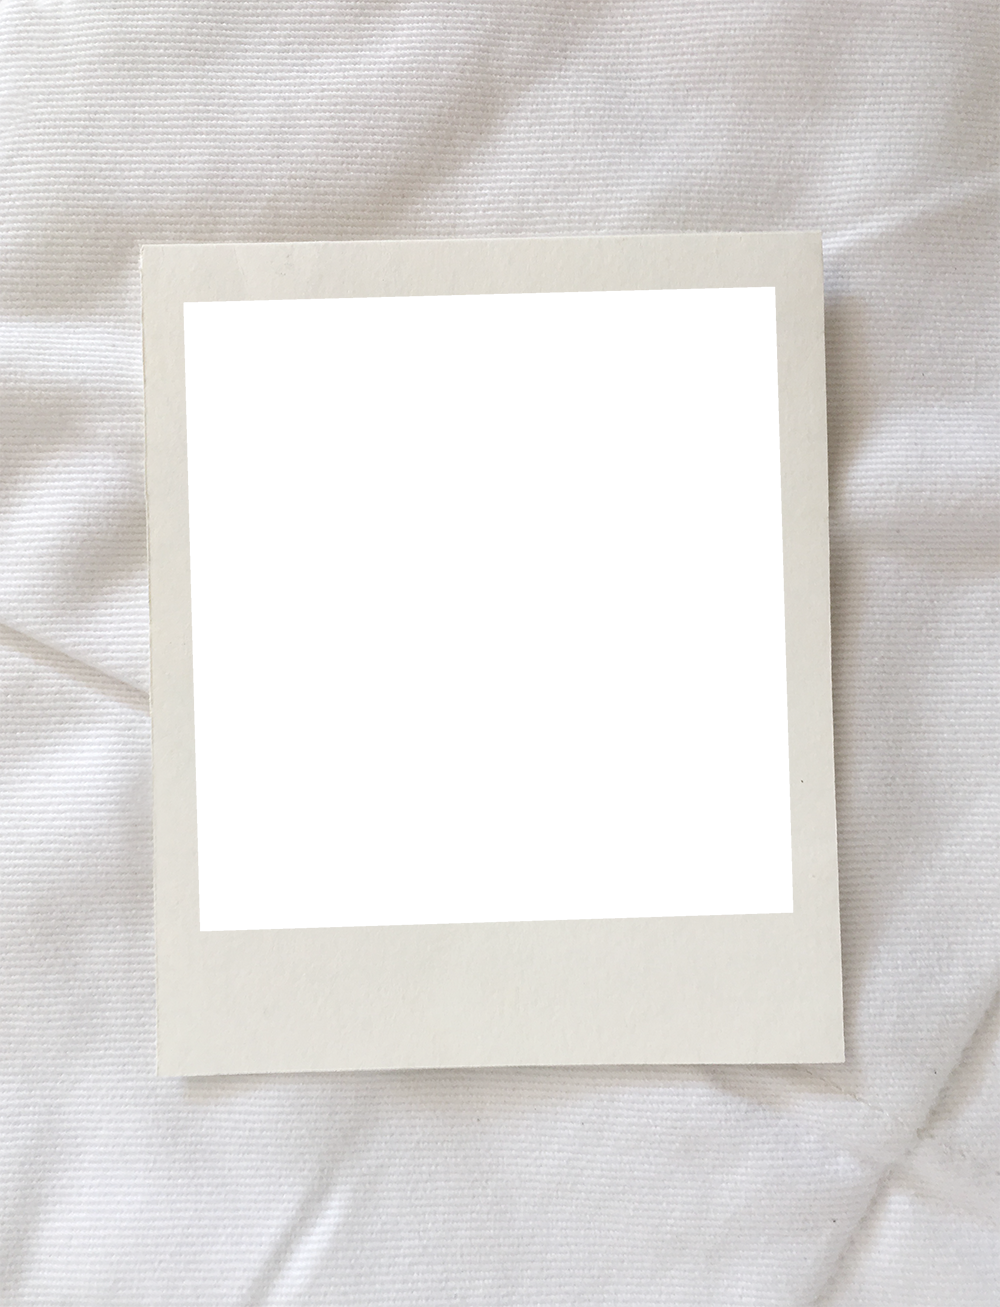


Hope you like it! Since you’re here, take a look at this post with 5 precious tips for the perfect selfie 💖
beijo!
Lu

Discover more from The Aesthetic Shop
Subscribe to get the latest posts sent to your email.


