

Hey there guys,
Quick intro: I’ll post a series of Photoshop essential tools and tricks starting with this one. There won’t be any long, difficult advanced tutorials in this series, only quick, easy and straight to the point guides on how to do stuff 🦄🦄🦄
I use clipping masks A LOT, and if you’ve purchased any of the LAS Dollar Store products, there’s a good chance you’ll need to know how clipping masks work to be able to edit your templates.
What is a clipping mask?
🎯 Clipping masks are an easy way to put one image “inside”another to change its visible shape. For example, you put a photo of you and your boyfriend inside a heart shaped image. So your photo will now have the shape of a heart. Best thing is you can still move the photo around as much as you want, to reposition it, resize it, etc. The clipping mask doesn’t crop the photo 🙂
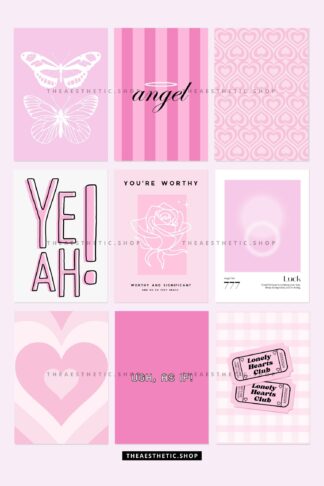
That’s how I create my Instagram feeds on Photoshop! I use 15 squares as the foundation of the design, and whatever content I want to use in the posts, I create clipping masks within those squares in a way I can adjust them freely, always keeping the square shape intact. Check it out:
How to create a clipping mask on Photoshop
To create a clipping mask is ridiculously easy haha!
Just place the layer on top of the one you want to insert it into, right click the top layer, and hit Create clipping mask.
Boom.
You can go through the same steps to release the object from the clipping mask too 🤹🏽♀️🧡💜❤
Pleaseee let me know if you have any questions here on the comments (no DMs, I rarely check them) and I’d love to answer them like instantly haha
beijos!
Lu


&url=https://www.theaesthetic.shop/product/30-perfect-pink-aesthetic-high-resolution-digital-images-with-editable-canva-template/&media=https://www.theaesthetic.shop/wp-content/uploads/2023/08/30-Perfect-Pink-aesthetic-high-resolution-DIGITAL-images-with-editable-Canva-template-2.jpg)