
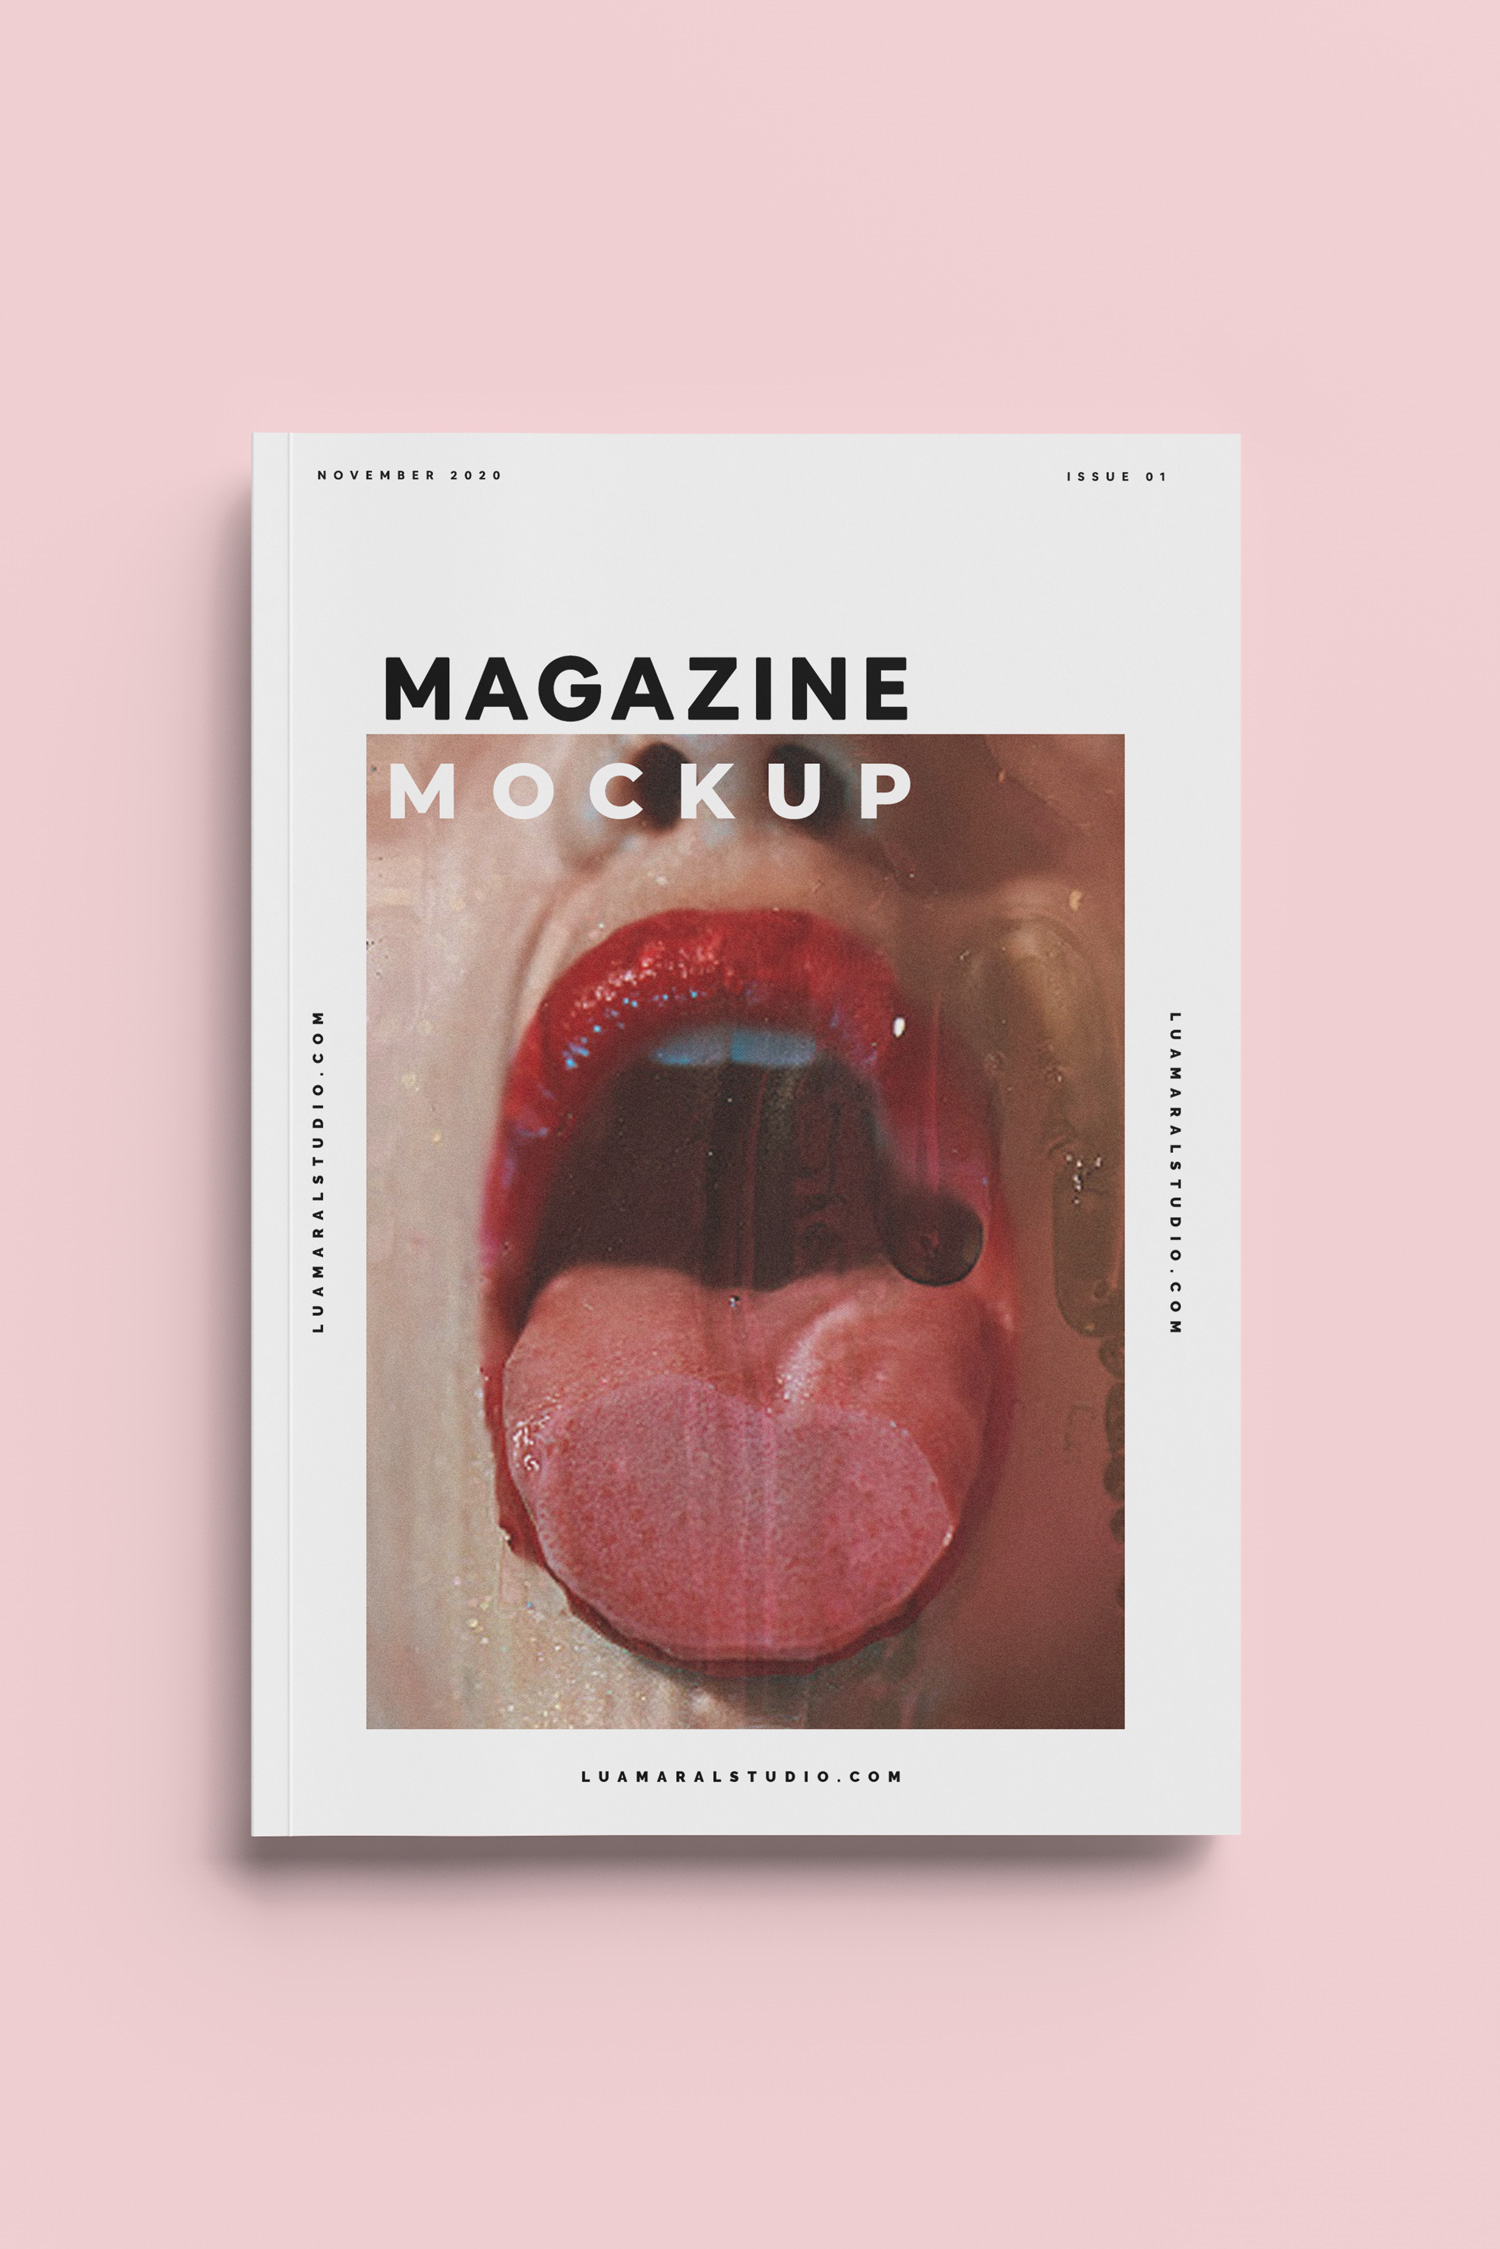
I looove creating mockups!
I use them to showcase my work on social media and here on the blog, and sometimes to present designs created for clients too. It looks more professional and helps them (and me!) visualize the layouts 🤩😍
-
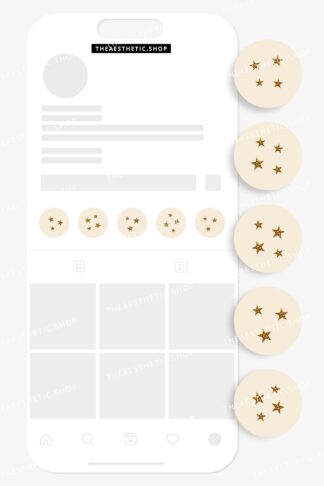
 Vanilla Girl aesthetic stars Instagram highlight covers ready to use – includes editable Canva templates$6
 -
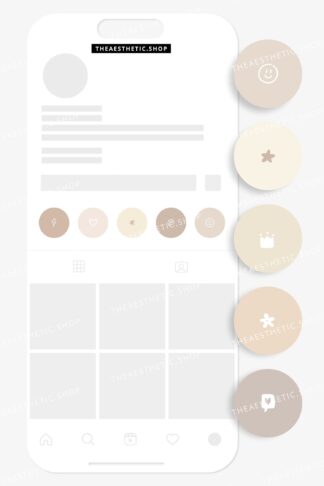
Vanilla Girl aesthetic photograph Instagram highlight covers ready to use – includes editable Canva templates$6
-
Vanilla Girl aesthetic doodle Instagram highlight covers ready to use – includes editable Canva templates$6

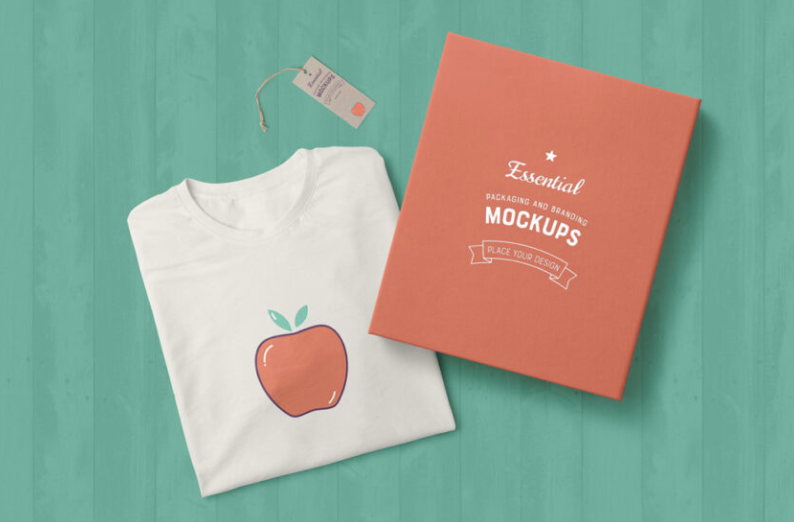
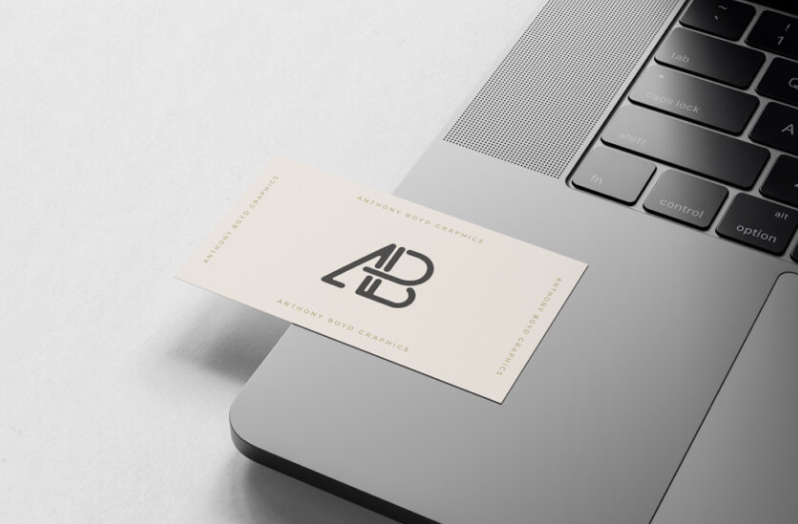
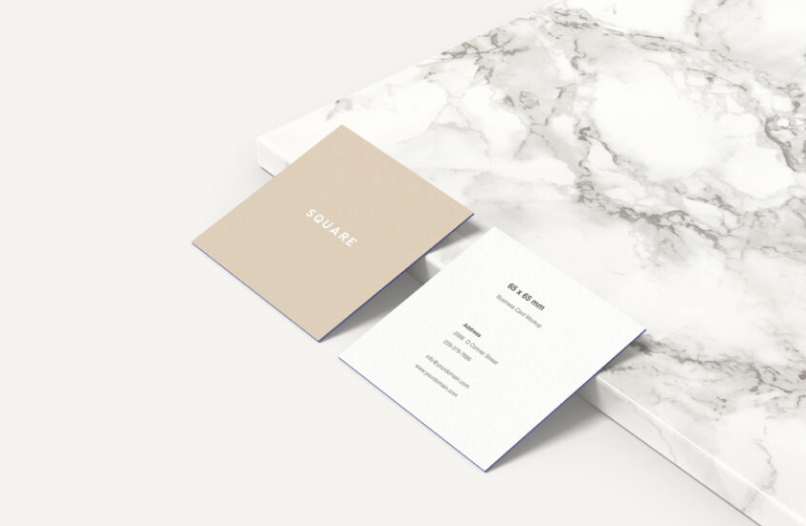
First of all, in case you’re wondering what is a mockup in graphic design: they are compositions of objects or scenes where custom content is placed to create or simulate or present an idea.
With all the amazing technology tools we have nowadays, it’s easy to design mockups that look like a real scene. And even though my favorite style is not super realistic, it’s nice to be able to make them look less computer generated and give a touch of realism to the whole design!
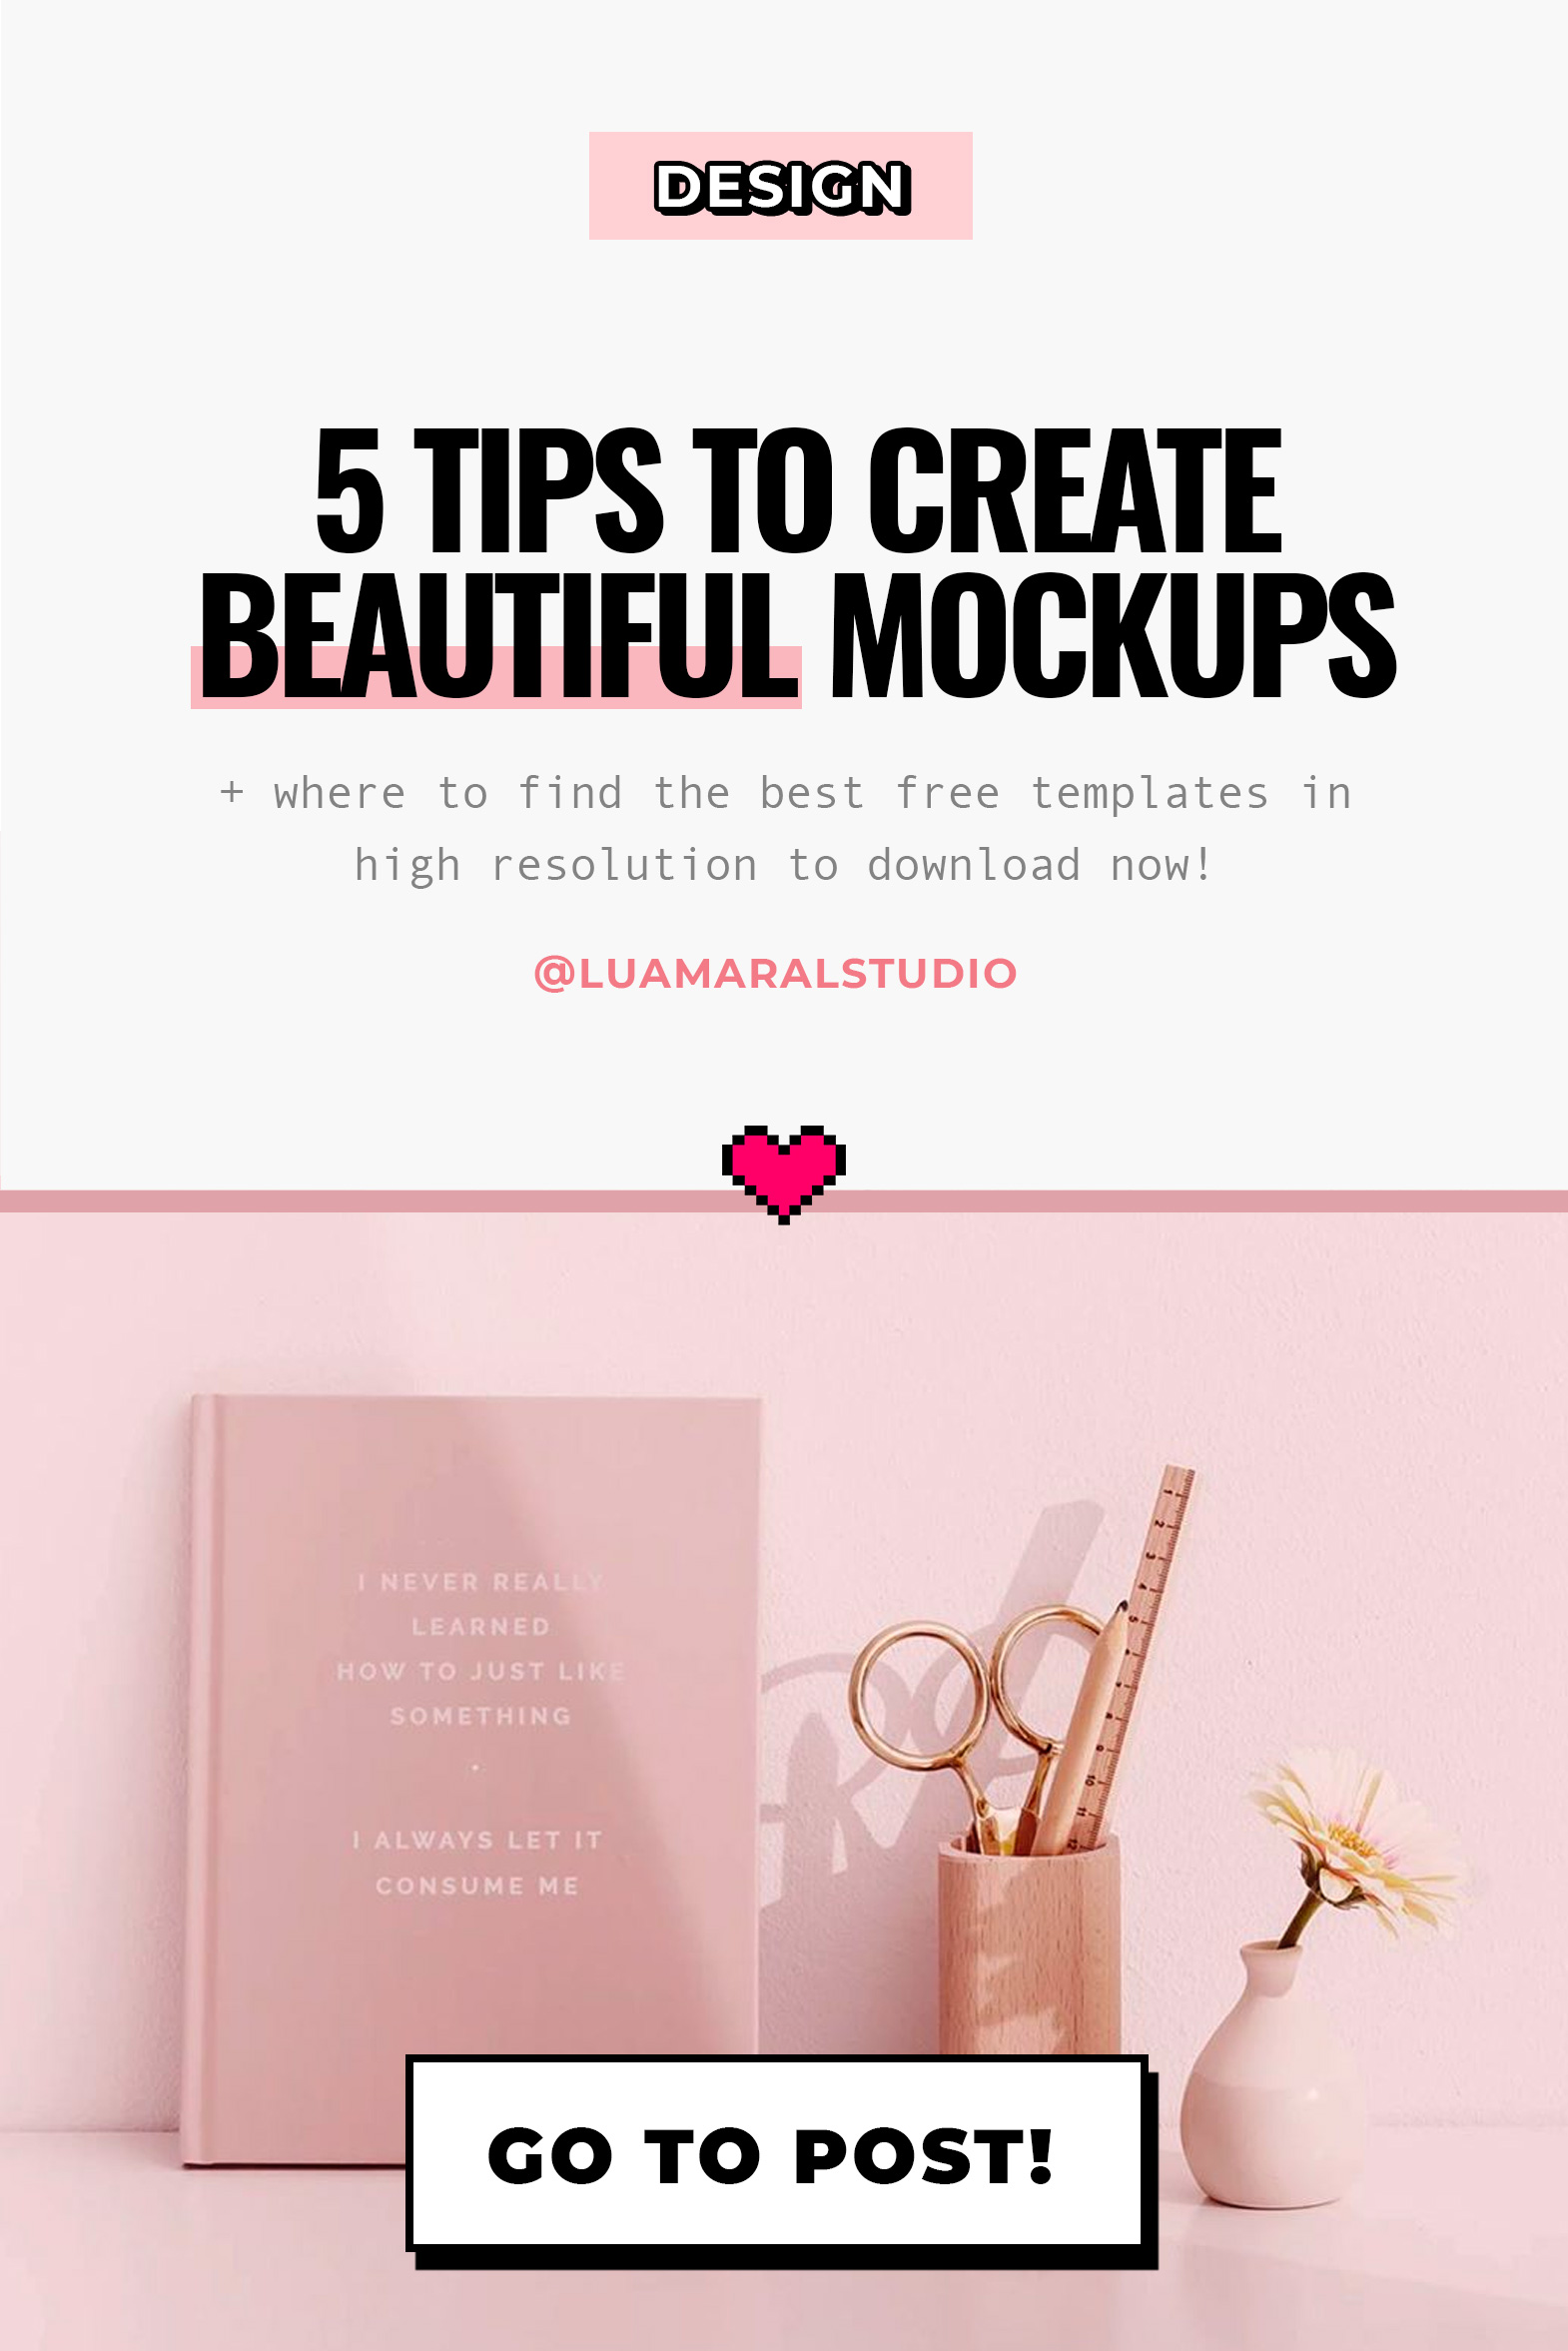
Here are the 5 steps to make sure your mockups are stunning, and that followers and viewers will appreciate and value the content you’re displaying:
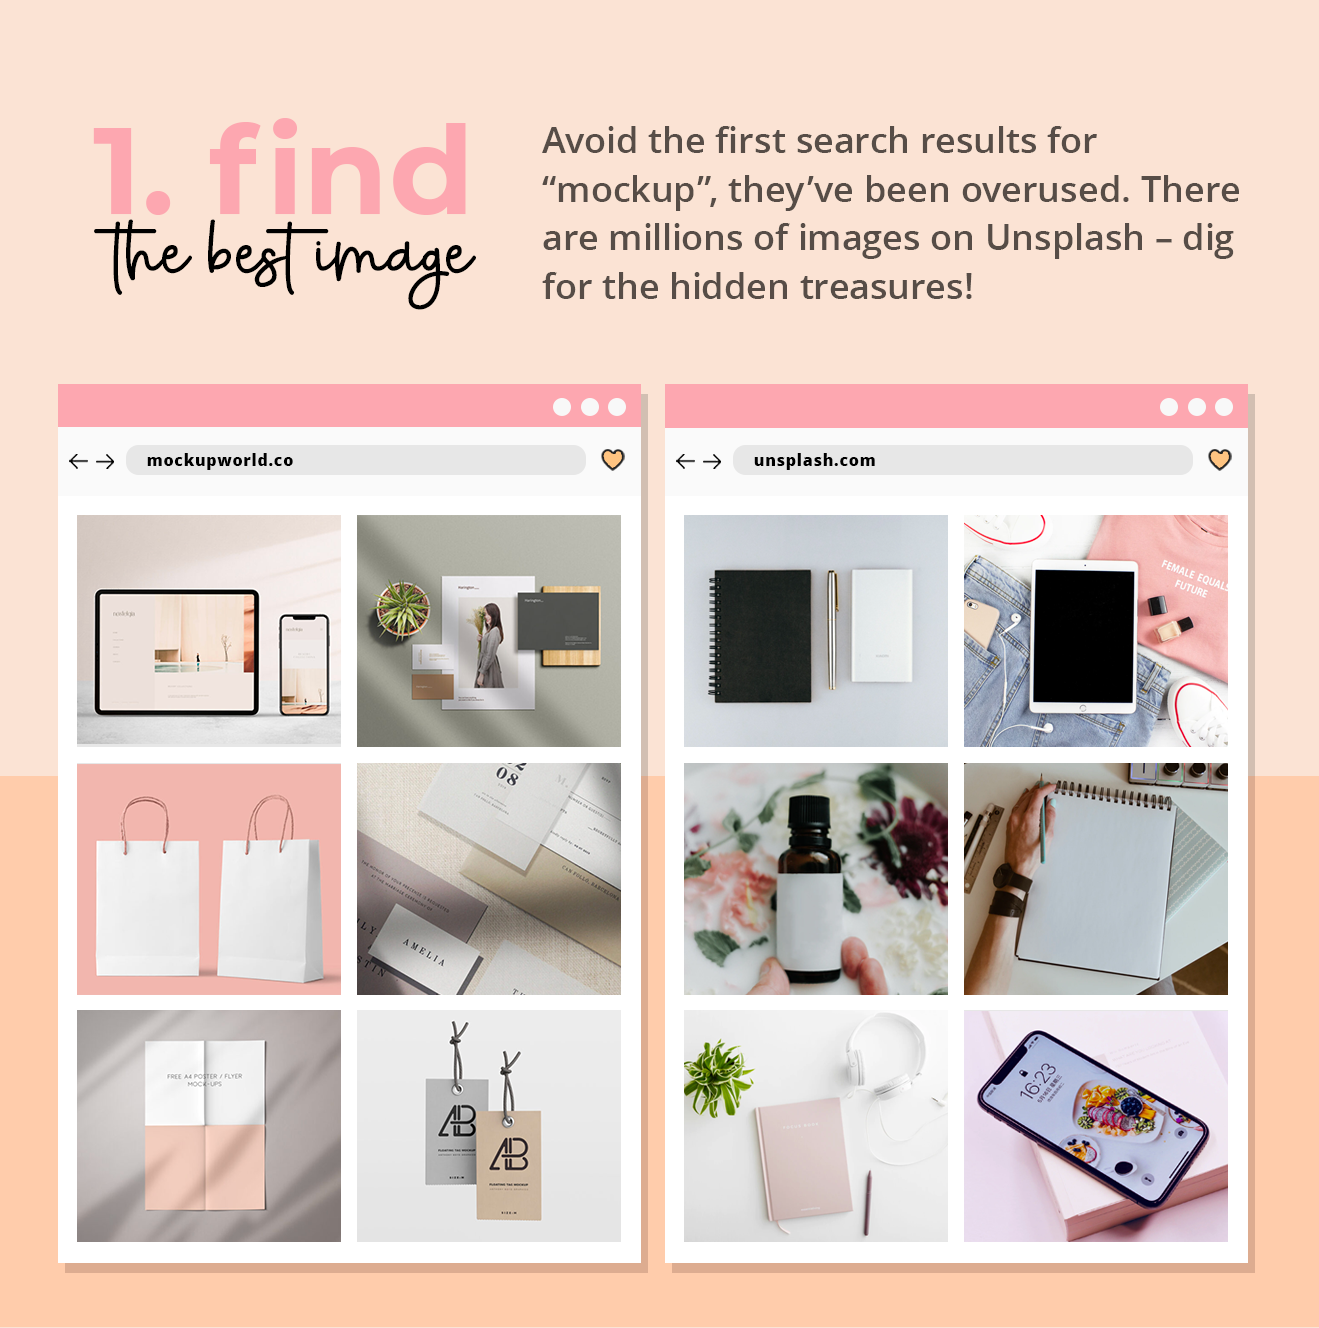
There’s soooooooo much cool stuff available for free on the freaking internet nowadays girrrrrlllls!! It’s unbelievable! I mean, when I first started working on this field a decade ago there was nothing. NOTHING! It’s still hard to believe reality has changed so much, and I’m just thankful for that. So much so that I myself collaborate to this amazing sharing community we’re living on and share lots of free stuff here on the blog, on my Insta and on my Pinterest all the time 💕🧚🏽♀️
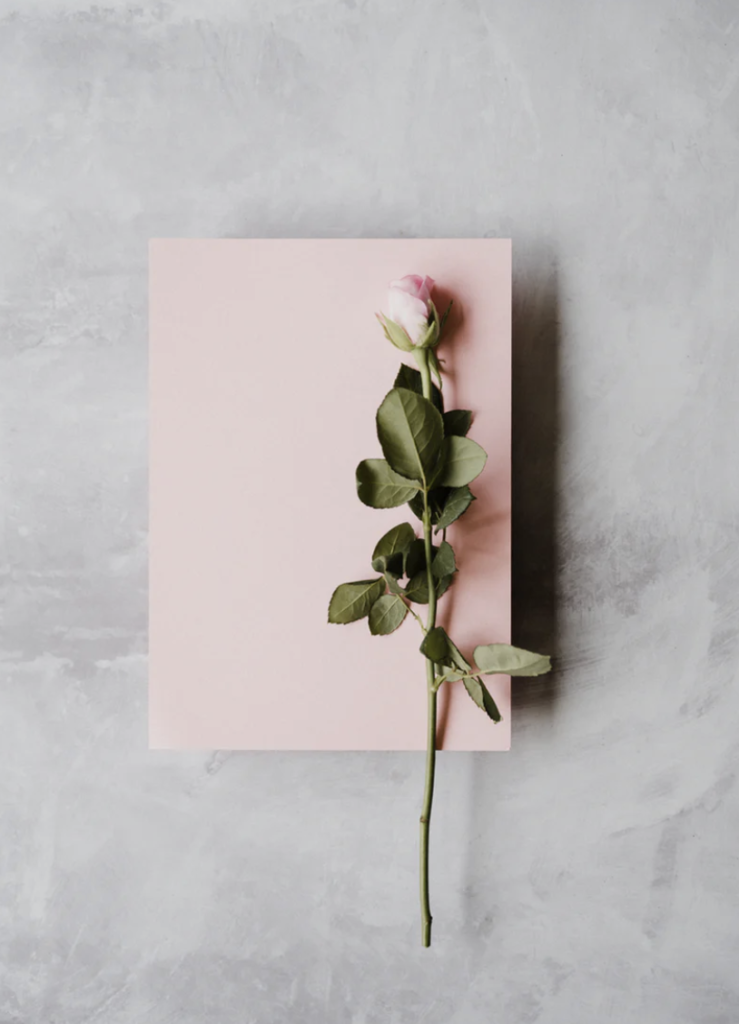
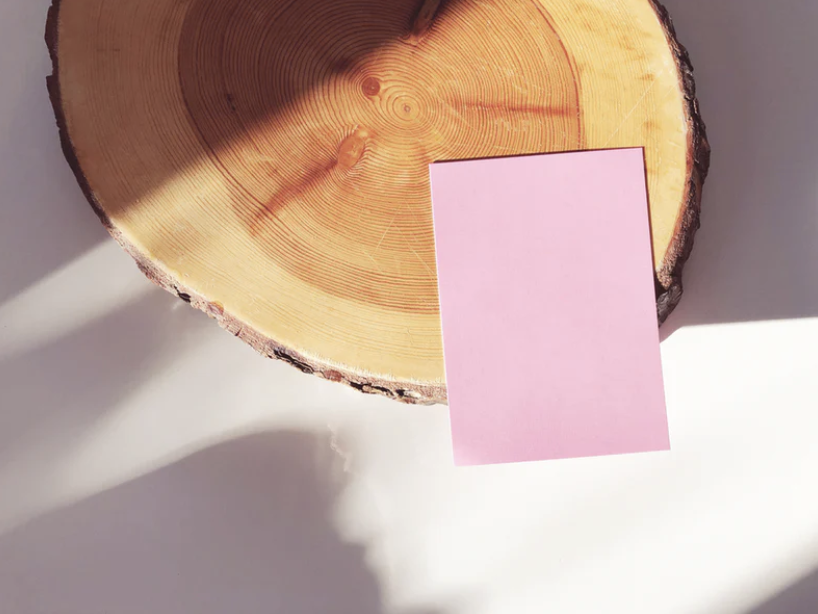
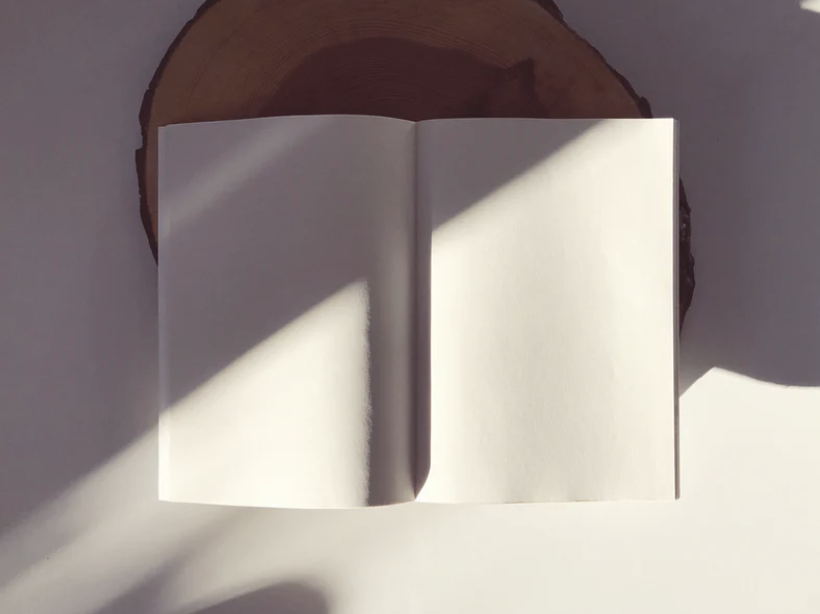
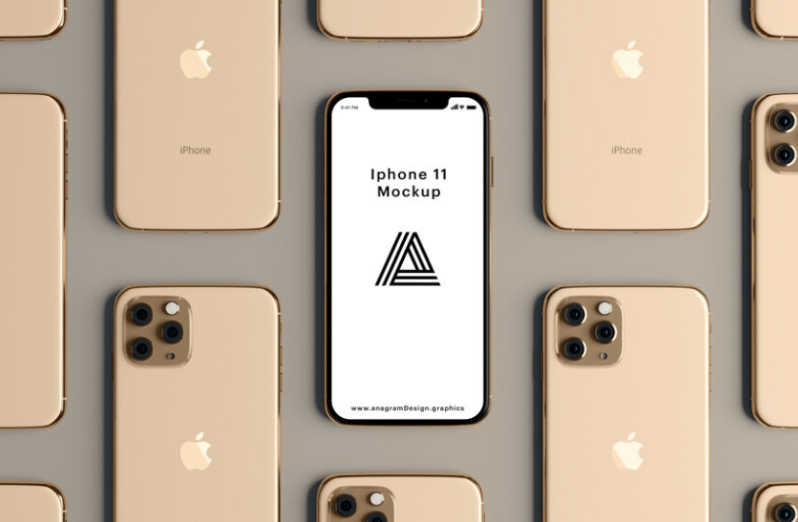
Mockup wise, I always go to mockupworld.com or Unsplash. If I can’t find what I need, I google it and look for other sources.
But hey, the fact that there’s so much free resource online has also raised the bar for design quality standards. So do not settle for first search results and work on your designs carefully so that it has your own identity and its stands out of other designs that used the same template.
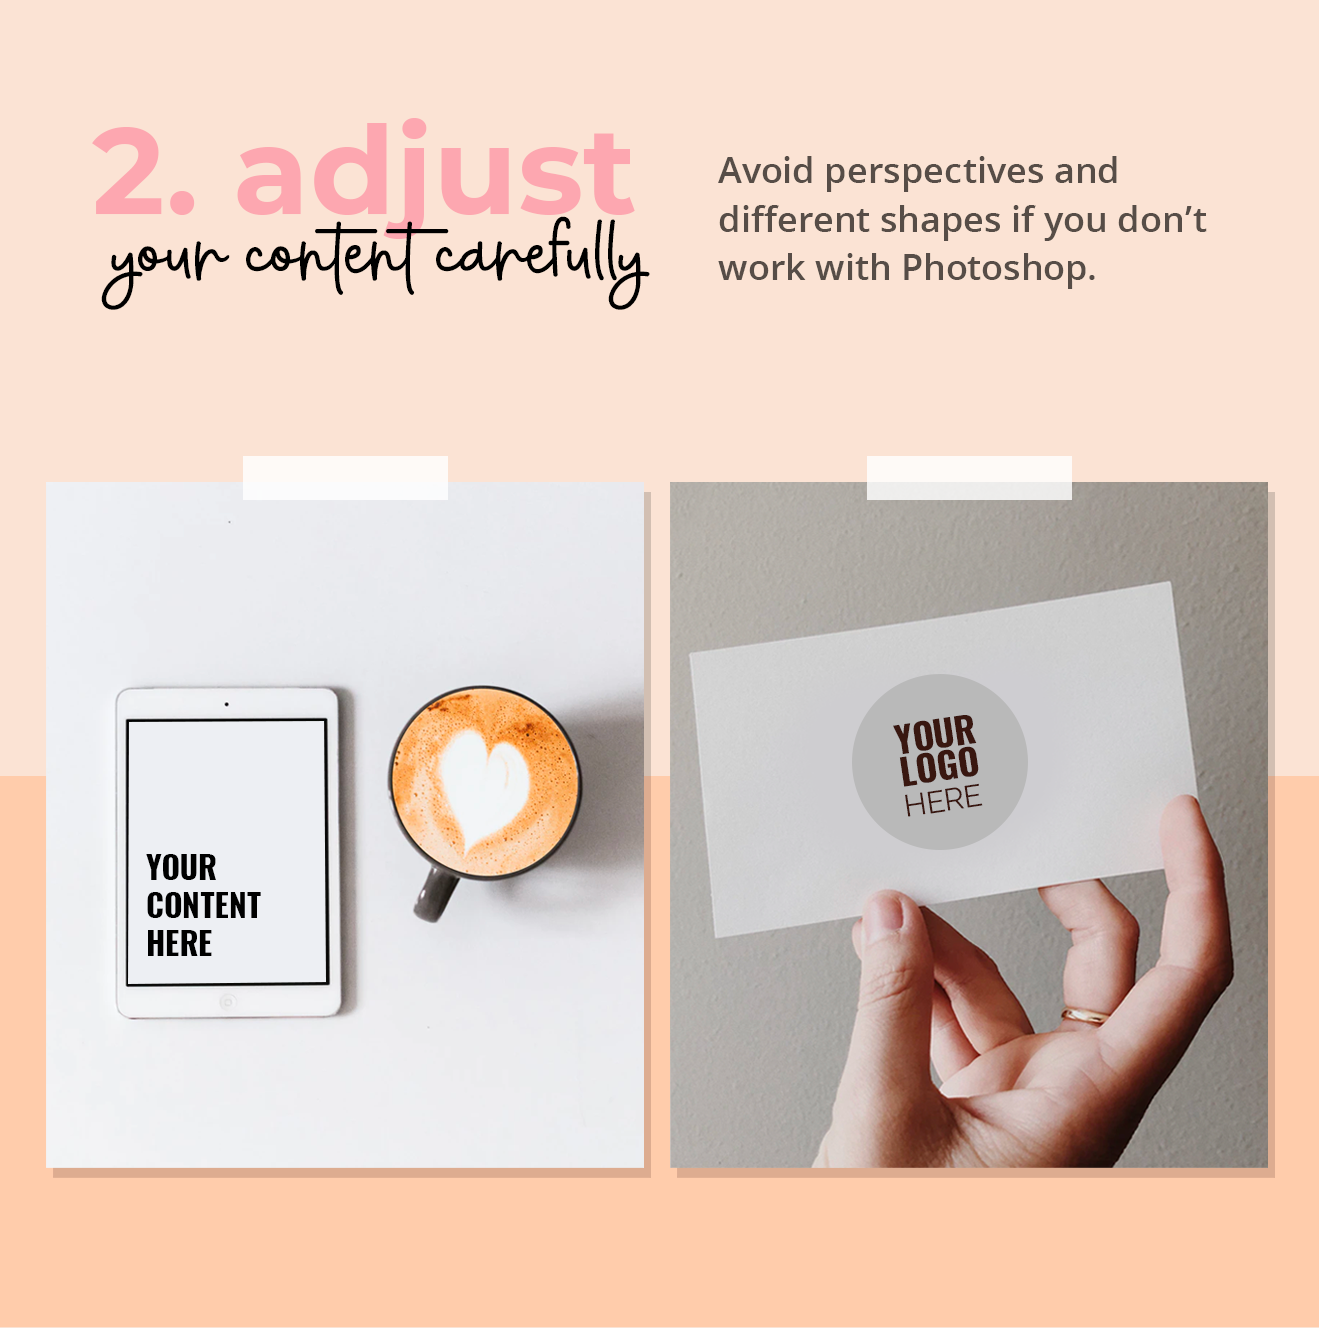
If you’re a Photoshop user, you know how perspectives can be easily edited to adjust the content to the template you’re using for your mockup design. If you’re still learning, simply select your image and go to Edit / Transform / and play with Perspective, Deform, etc.
If it’s not your case, and you’re not using Photoshop yet, or have no intention of using it ever, try to avoid mockups that are not straight. That way all you have to do is place your logo, image or whatever your content is inside the image and possibly rotate it a bit if necessary. You can do that on Canva, PicsArt and many other apps.
And now jump to the next step! 🤘🏽
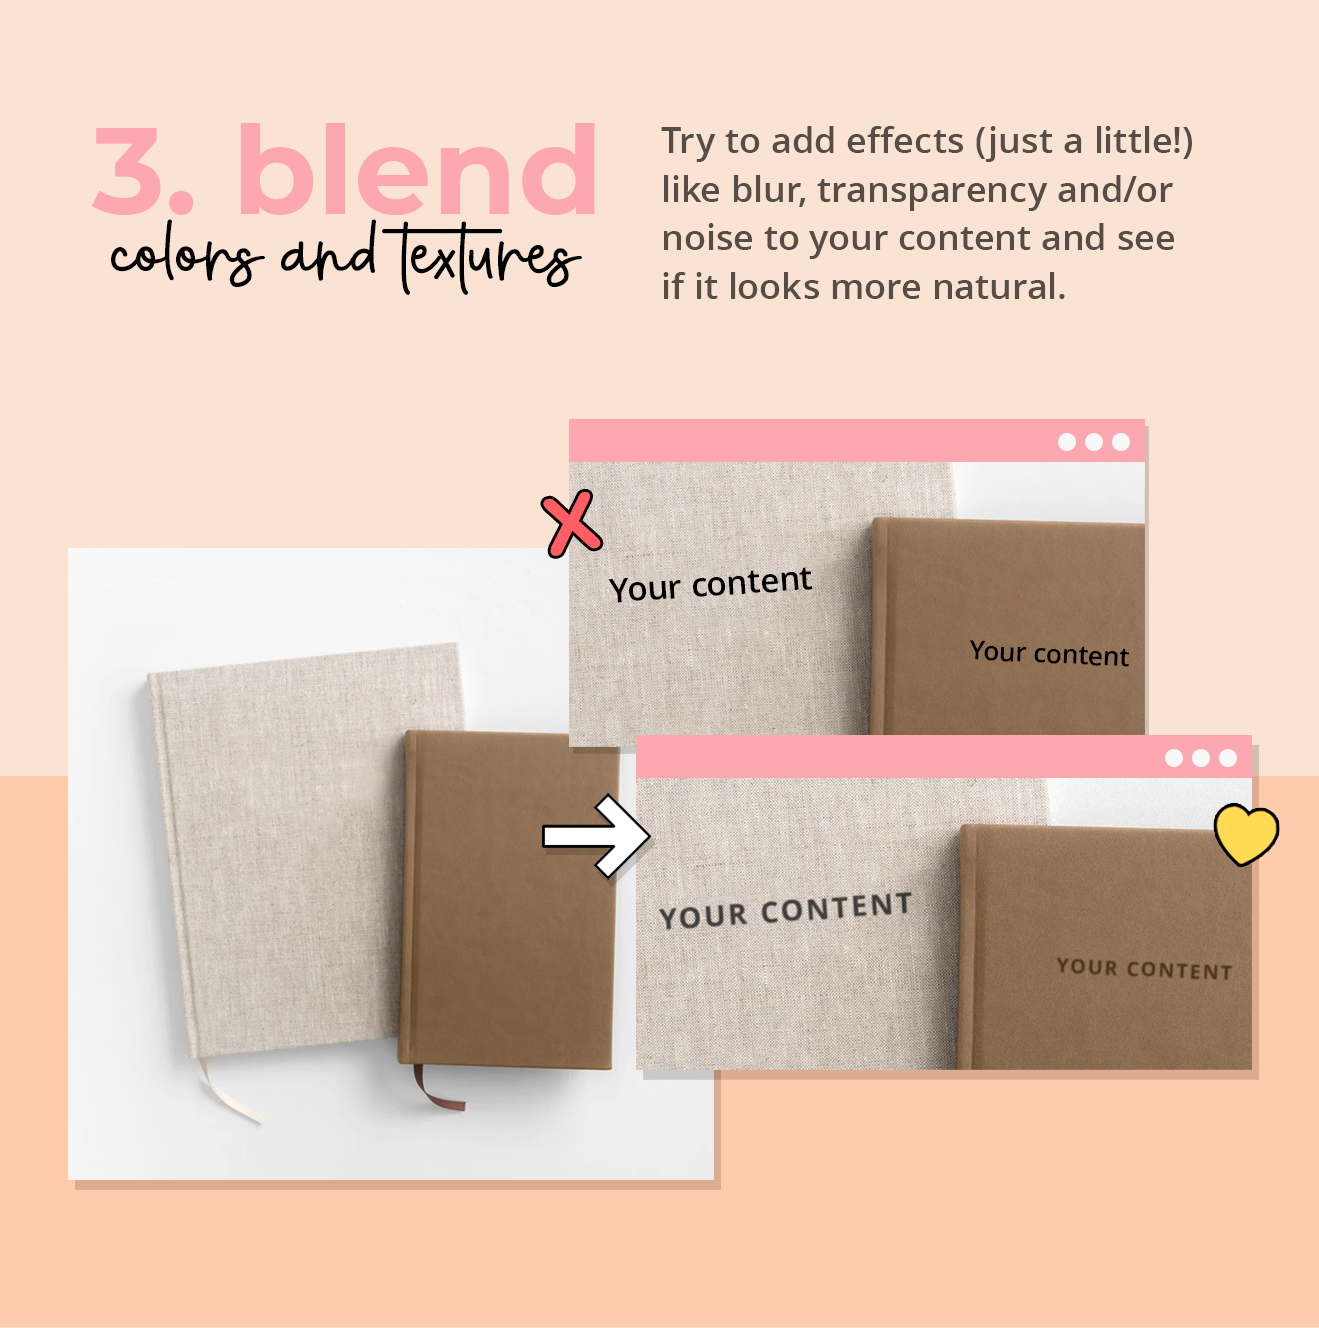
One precious tip I like to give to male your content look more realistic in the scene is to change the opacity a bit to make the color and texture blend with the rest of the image. If your content is supposed to be black, for example, look around the image you’re using as a background, and check how dark the blacks are.
More often than you’d expect, the blacks are actually a dark shade of blue, brown, purple or grey. So if you change your content’s blacks to that same shade, it will look like it belongs there. Same with the whites 🙂
The last step is optional. If you have a filter or edit preset you use on all your pics, it’ll help blend the whole design even better!
So much fun, right?? 🥳
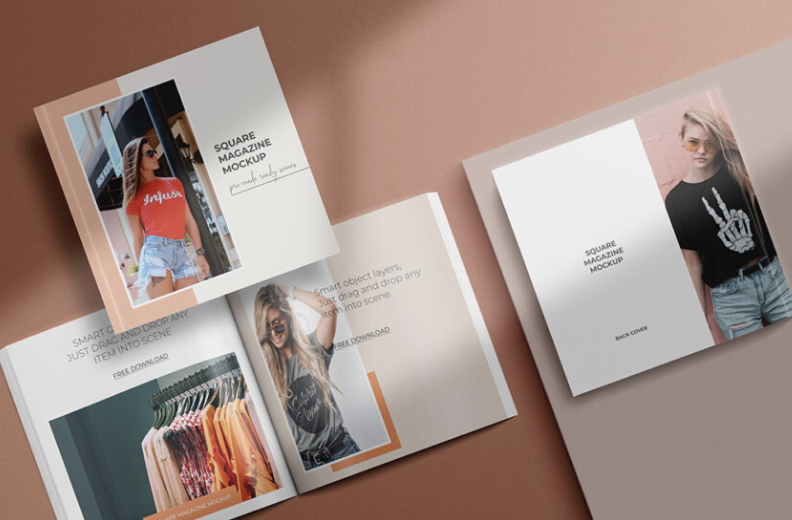
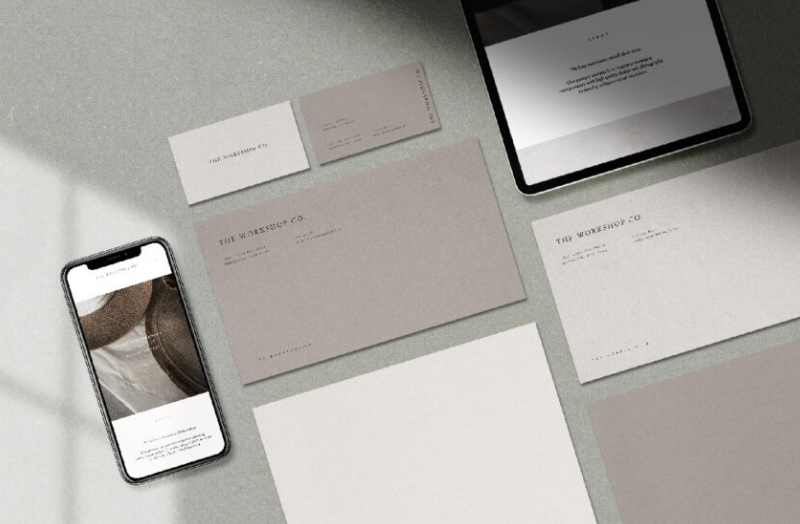
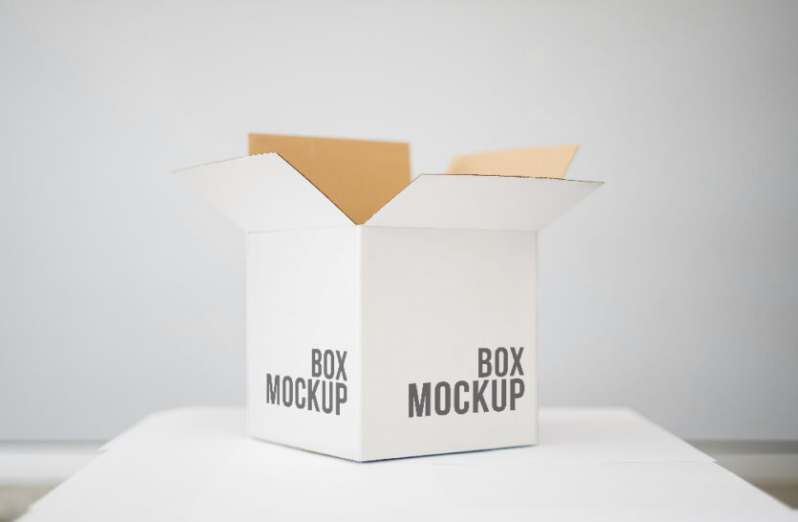
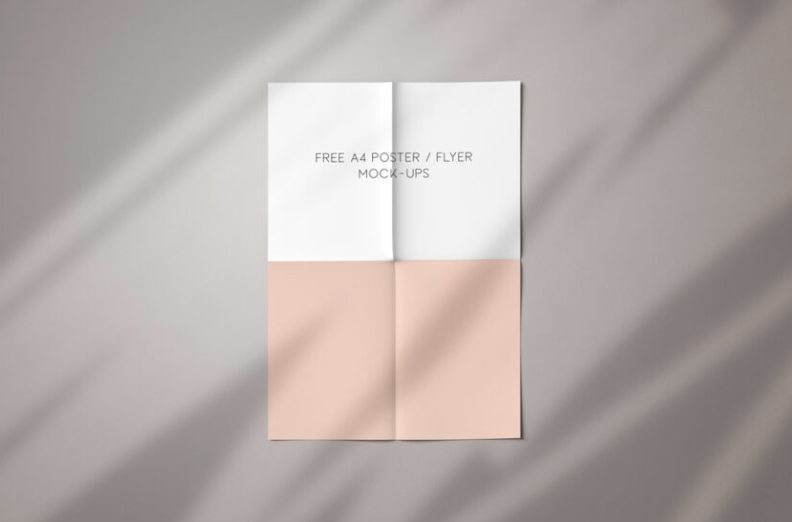
A few free mockup resources in case you need them:

And here’s the Insta post I made, in case you want to save it on your tips collection:
If you’re a Pinterest gal like myself, here’s the image to save on your graphic design tips board! 💕
Thanks for reading guys. See you again soon :}
Beijos,
Lu


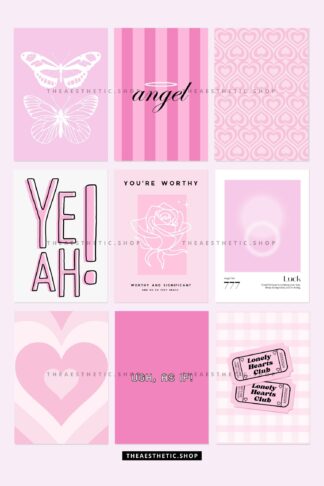
&url=https://www.theaesthetic.shop/product/30-perfect-pink-aesthetic-high-resolution-digital-images-with-editable-canva-template/&media=https://www.theaesthetic.shop/wp-content/uploads/2023/08/30-Perfect-Pink-aesthetic-high-resolution-DIGITAL-images-with-editable-Canva-template-2.jpg)